Happy First Day of Winter!
And Happy Day 11 of the Merry and Bright Quilt-along!
Today we’re embroidering our last sashing strip. We’ll be using the back stitch and French knots for some garland-y stitching. Here’s a peek:

I love today’s stitching—it’s simple and fast, but oh so pretty!
Let’s start with the marking:
- Referring to the diagram below, mark a horizontal line in the center of your sashing strip along its entire length. Note: the center of your strip should be ⅝” below the upper seam and ⅝” above the lower seam.
- Starting at the right edge of your sashing strip, make a mark ¼” below the upper seam and ½” in from the right seam.
- Move left 1″ from the mark made in step 2 and make another mark ¼” below the upper seam and 1½” in from the right seam.
- Continue in the same manner moving left and making a mark every inch along the length of the sashing strip (always ¼” below the upper seam).
- Starting at the right edge of your sashing strip, make a mark ¼” above the lower seam and 1″ in from the right seam.
- Move left 1″ from the mark made in step 5 and make another mark ¼” above the lower seam and 2″ in from the right seam.
- Continue in the same manner moving left and making a mark every inch along the length of the sashing strip (always ¼” above the lower seam).
- Draw a gently curving line between the center line and each of the marks created in steps 2-7. Note: I started each of my curved lines along the center line ½” right of the mark I was connecting to.

Embroider Garland:
(Note: if you need a quick refresher on the stitches, we first used the back stitch on Day 9 and the French knot on Day 10.)
- Place your marked quilt top/batting sandwich in an embroidery hoop.
- Thread an embroidery needle with two strands of green embroidery floss.
- Referring to the diagram above, back stitch along the center and curved lines.
- Using 2-3 strands of red embroidery floss, stitch a French knot at the end of each of the curved lines on the marks created in steps 2-7 in the marking instructions above.
And voilà!

I think it’s the simplicity of this garland/vine that makes it so striking and the perfect way to finish up our sashing strips.
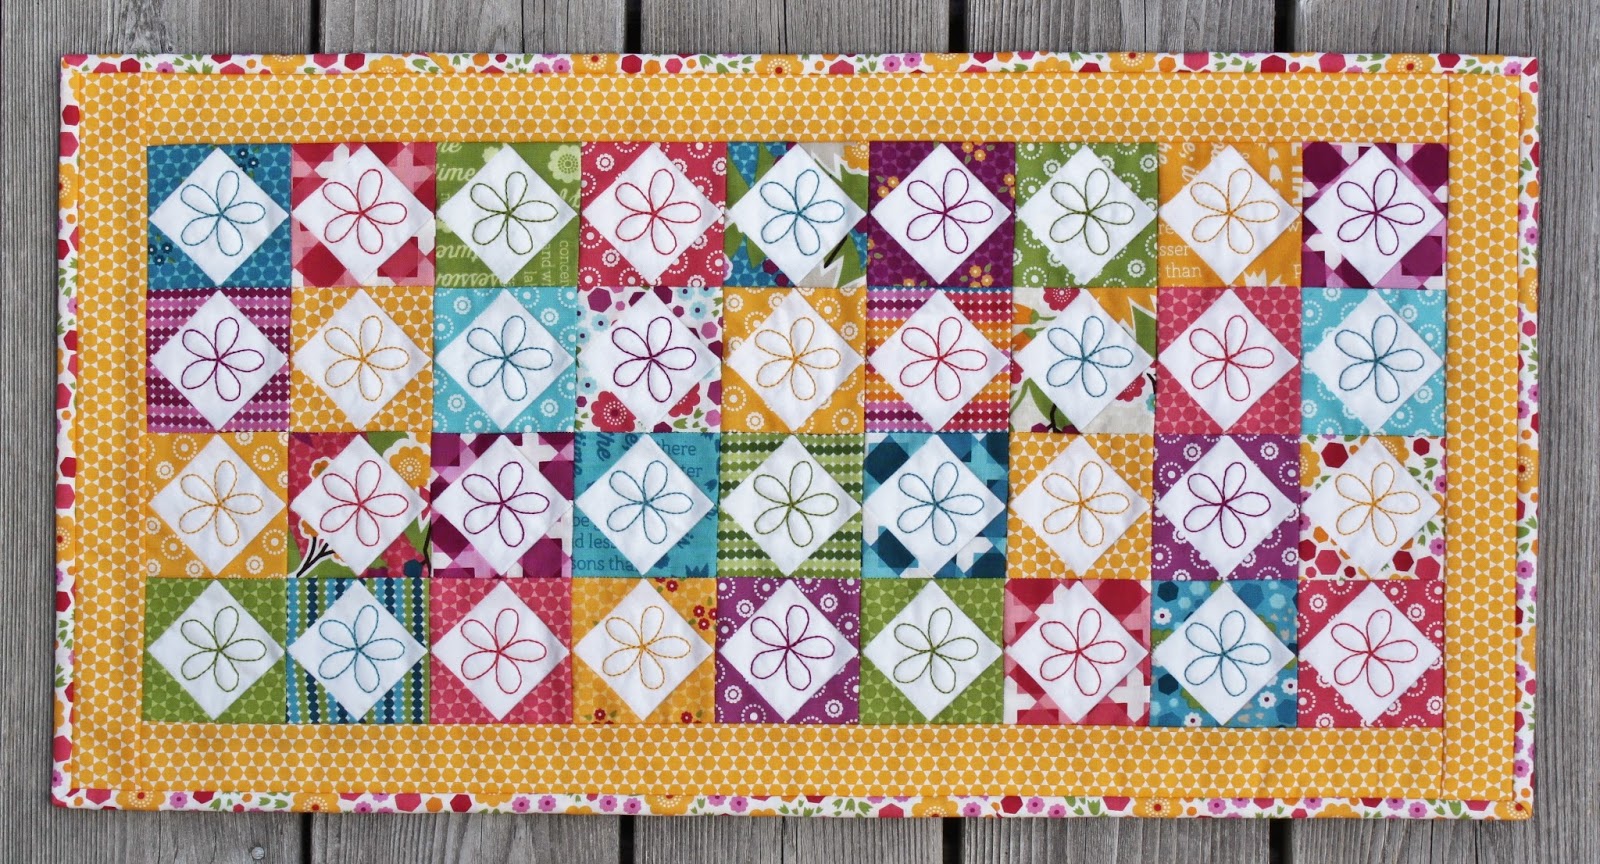
If you’ve enjoyed embellishing your quilt with embroidery, make sure to check out my free patterns. I’ve got several fun little projects that incorporate stitching, and if you’d like a slightly larger quilt that’s great for stitching on the go, you can find a tutorial for my Happy table runner at the Moda Bake Shop.
I can’t believe it, but we’ve almost reached the end of the Merry and Bright Quilt-along! Hope to see you back here on Friday for Day 12!!
Comments on this entry are closed.
Thank you so much , it really looks lovely! And the Happy table runner is really happy!
Hugs Martina
Thank you!