Welcome back for Day 2 of the Merry and Bright Quilt-along!
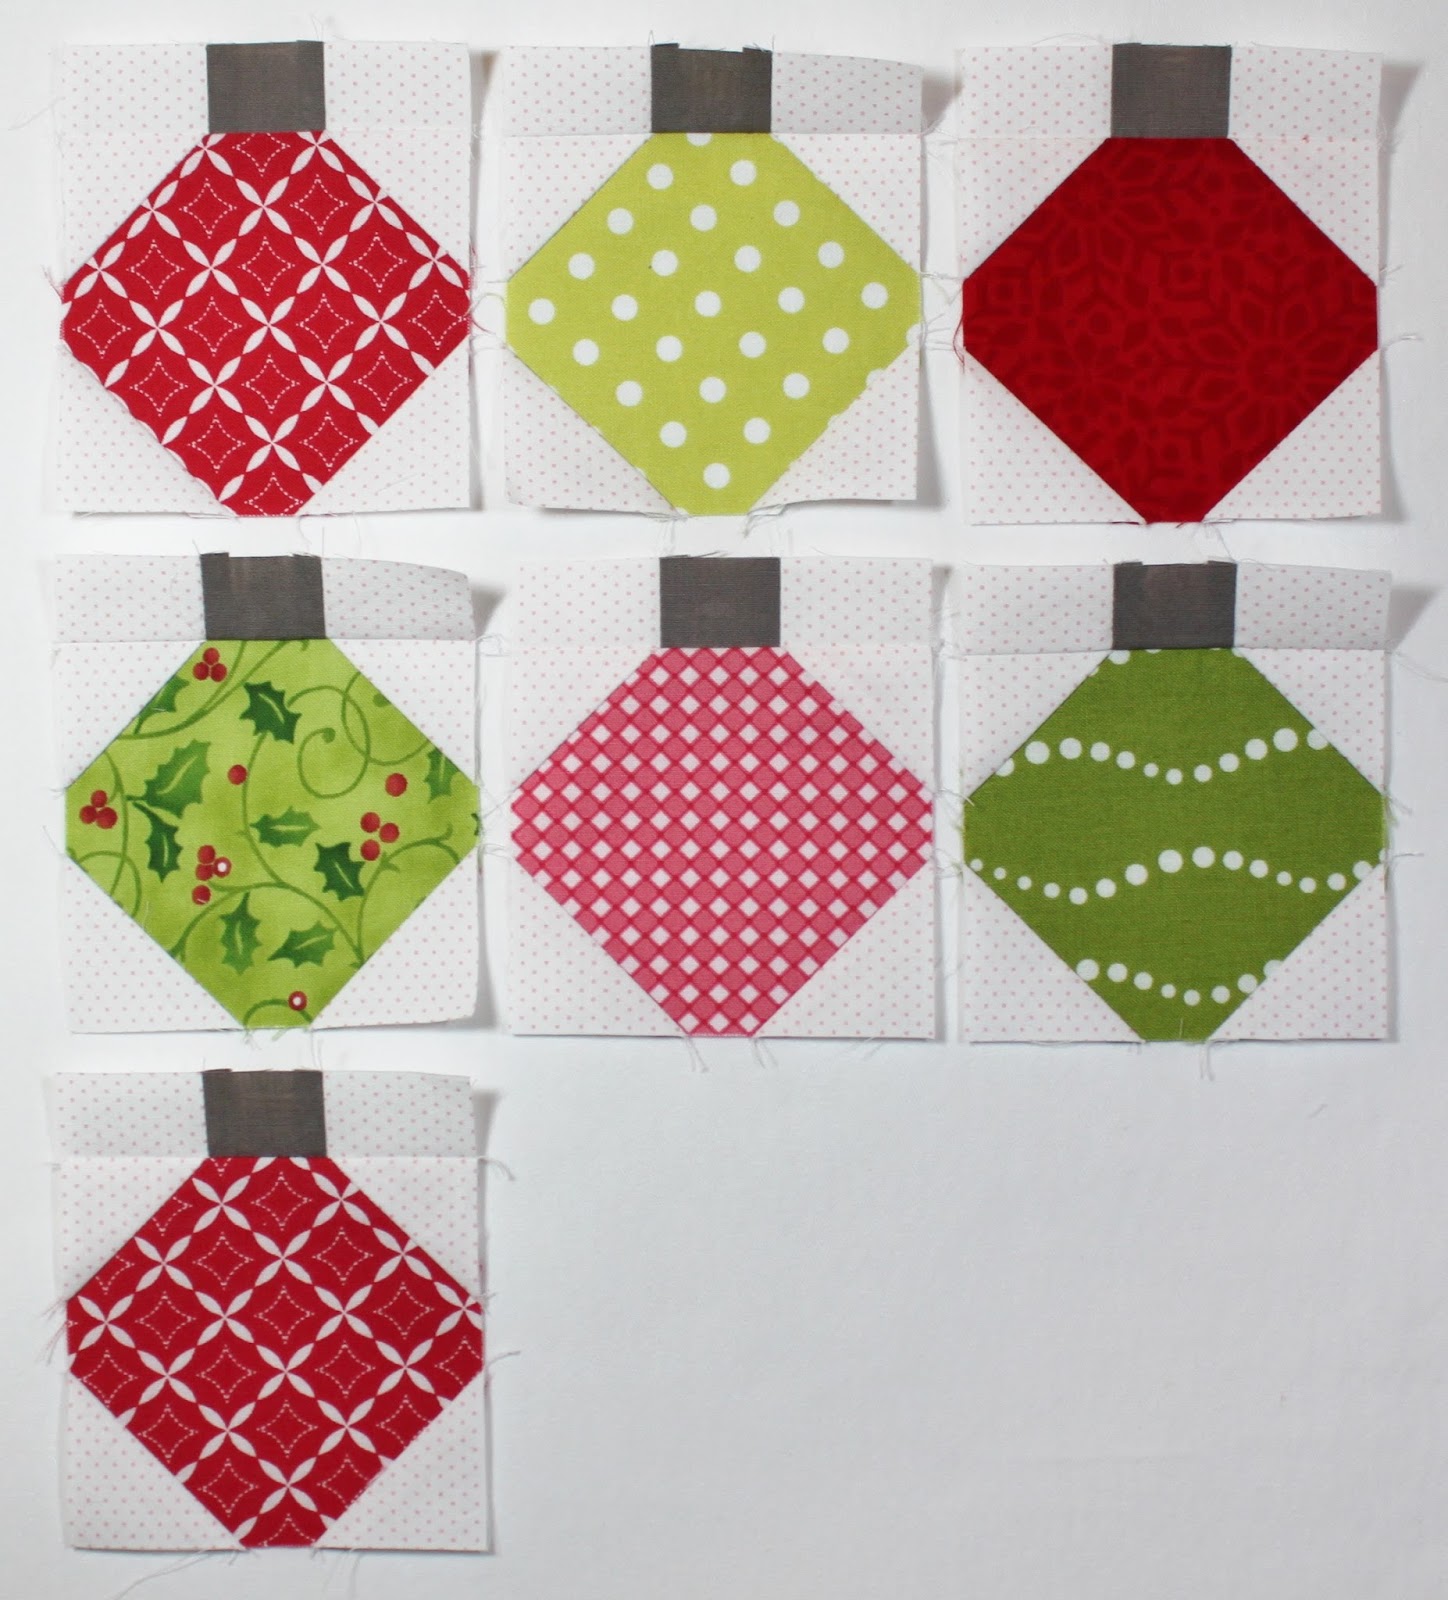
Today we’ll be making one of my favorite holiday blocks, the Christmas ornament!

I love these blocks because they are soooo simple to make and a great opportunity to show off a pretty big expanse of your favorite fabric.
My ornament block is simply a snowball block with a little pieced row attached to one side to represent the ornament top. Easy peasy.
Ready? Here we go…
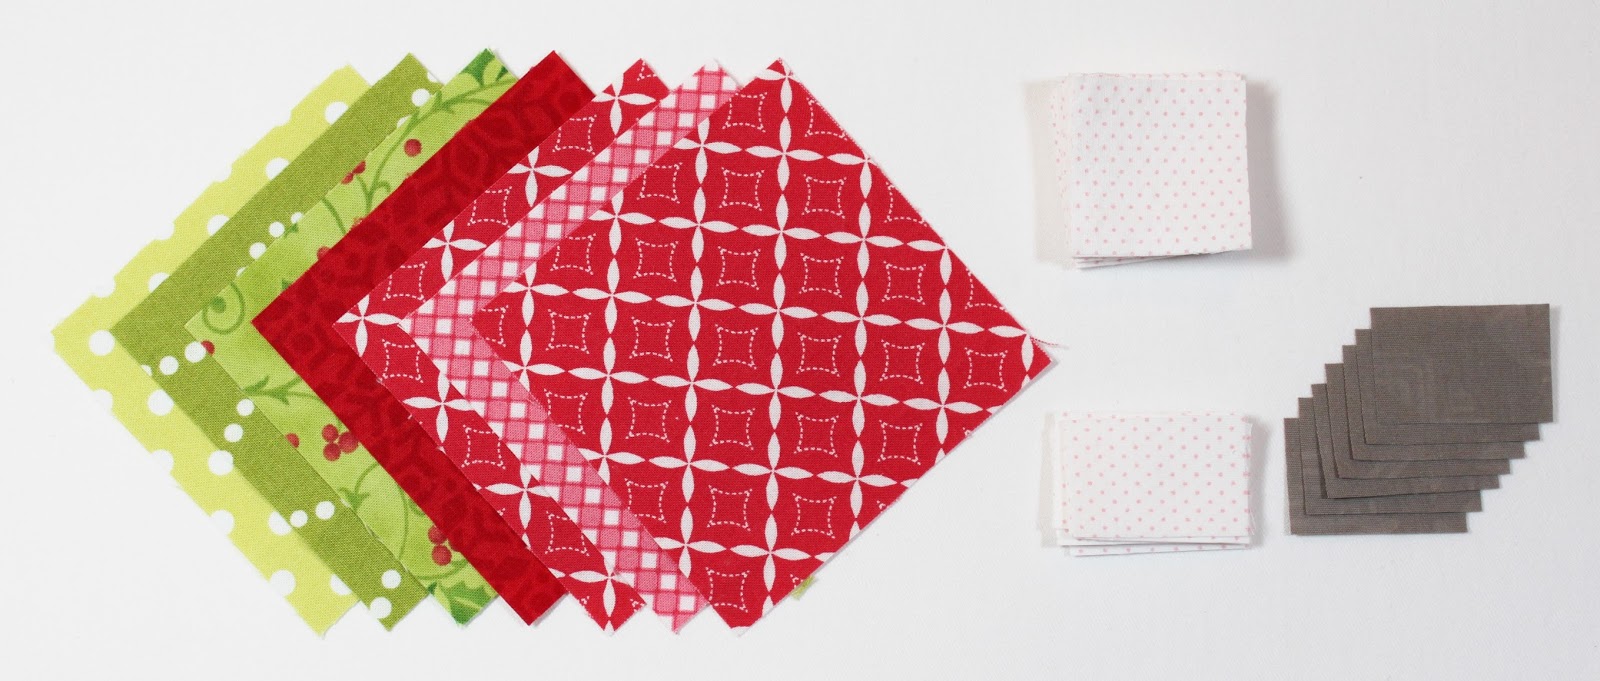
To make your Merry and Bright ornaments you’ll need:
7—assorted print 3½” x 3½” squares (and if you did your cutting on Day 1, just mosey on over to your pre-organized stacks of patches and grab the 3½” x 3½” squares)
28—background fabric 1½” x 1½” squares
14—background fabric 1″ x 1½” rectangles
7—gray print 1″ x 1½” rectangles (this is one of two blocks that we’ll be using the gray print in, so cut carefully)
Make snowball units:
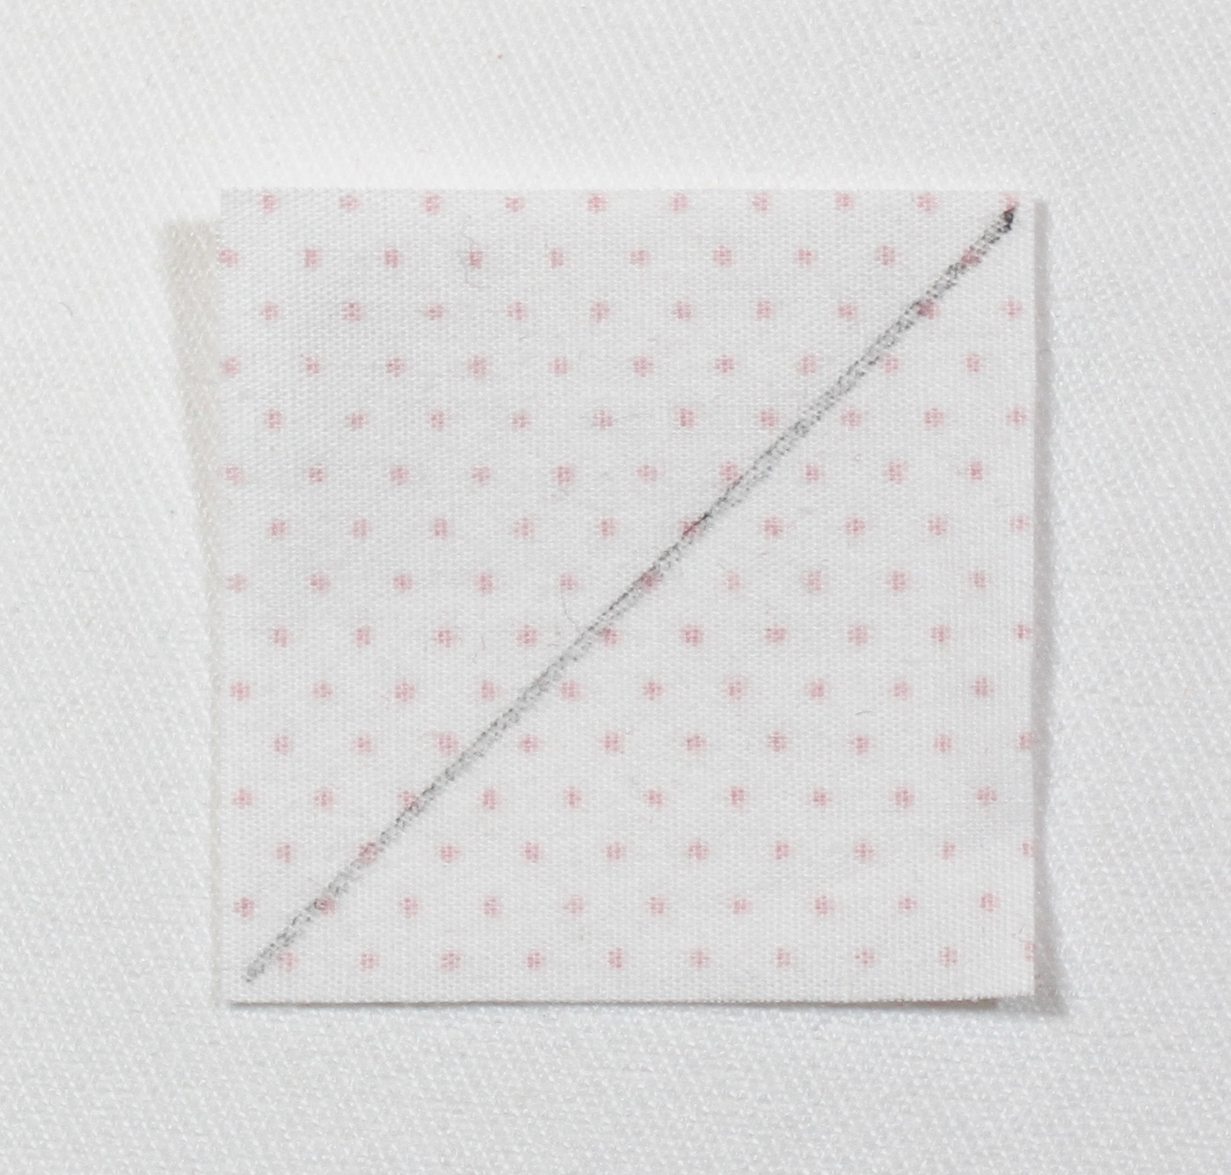
1. On the wrong side of each of the 28 background fabric 1½” x 1½” squares, lightly draw a line diagonally from one corner to the opposite corner. Note: using a sandpaper board for this step really helps to keep your patches from shifting when you draw the lines.
2. Place 1 print 3½” x 3½” square on a flat surface with its right side facing up. Place 1 background fabric 1½” x 1½” square atop each corner of the print 3½” x 3½” square with right sides together and drawn lines visible as shown. Note: I do the placement and and stitching of each corner one at a time, but for efficiency’s sake, I’m showing you all four corners at once in the following photos.

3. Stitch along drawn lines. Press seams open away from the darker fabric.
4. Trim excess fabric a scant ¼” from the seam. Press open again.


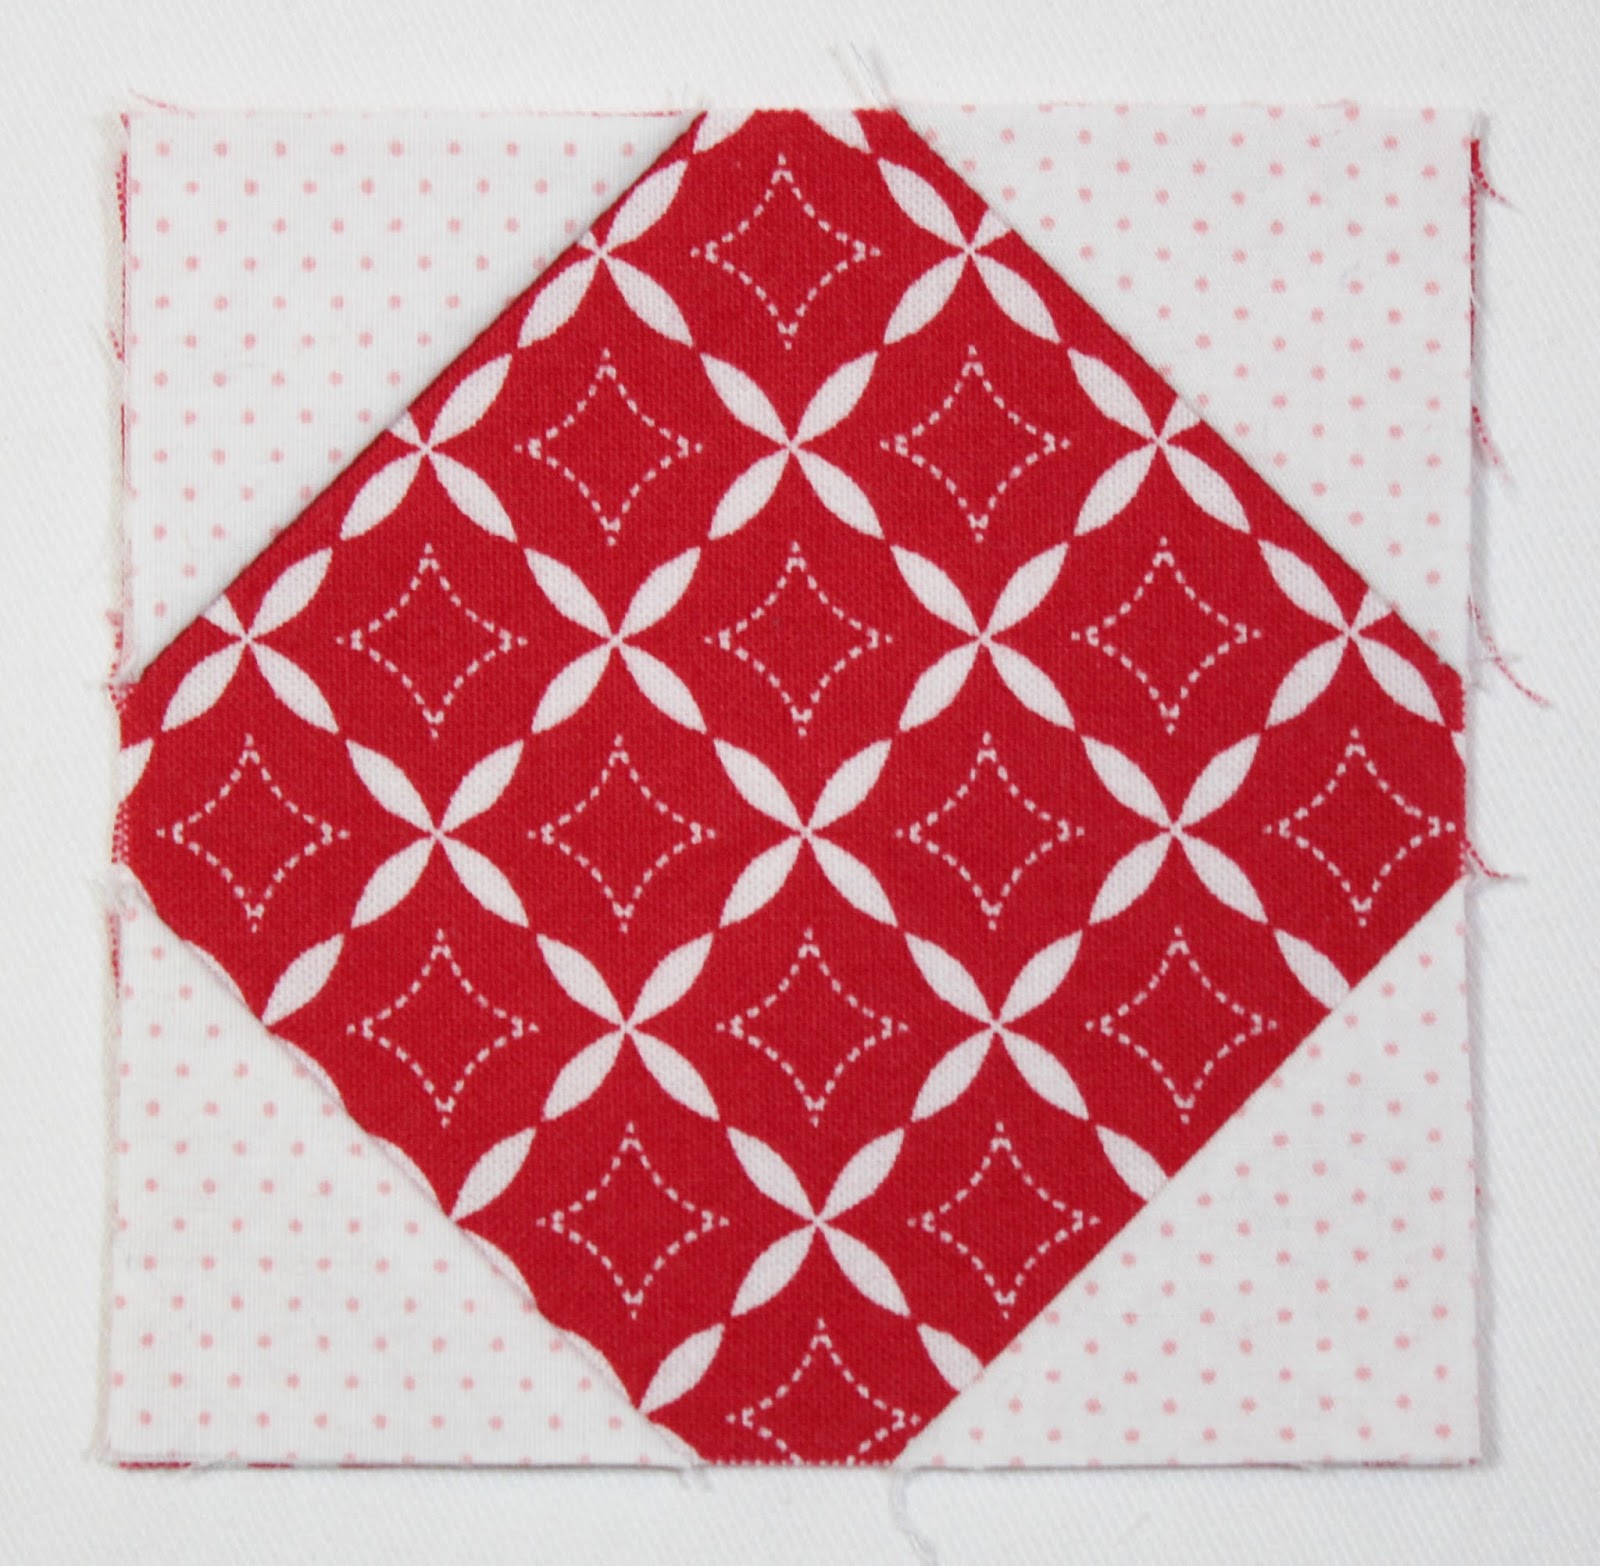
5. Continue in same manner with remaining 3 corners of print 3½” x 3½” square. Finished snowball unit should measure 3½” x 3½”.

6. Repeat steps 2-5 with remaining assorted print 3½” x 3½” squares and background print 1½” x 1½” squares to make 7 snowball units.
Make ornament top units:
1. Stitch 1 background print 1″ x 1½” rectangle to either side of 1 gray print 1″ x 1½” rectangle with right sides together and along 1″ sides as shown. Press seam allowances towards gray print.

2. Repeat to make 7 ornament top units that measure 1″ x 3½”.
Make ornament blocks:
1. Stitch 1 ornament top unit to each snowball unit with right sides together, pressing seams away from ornament top.
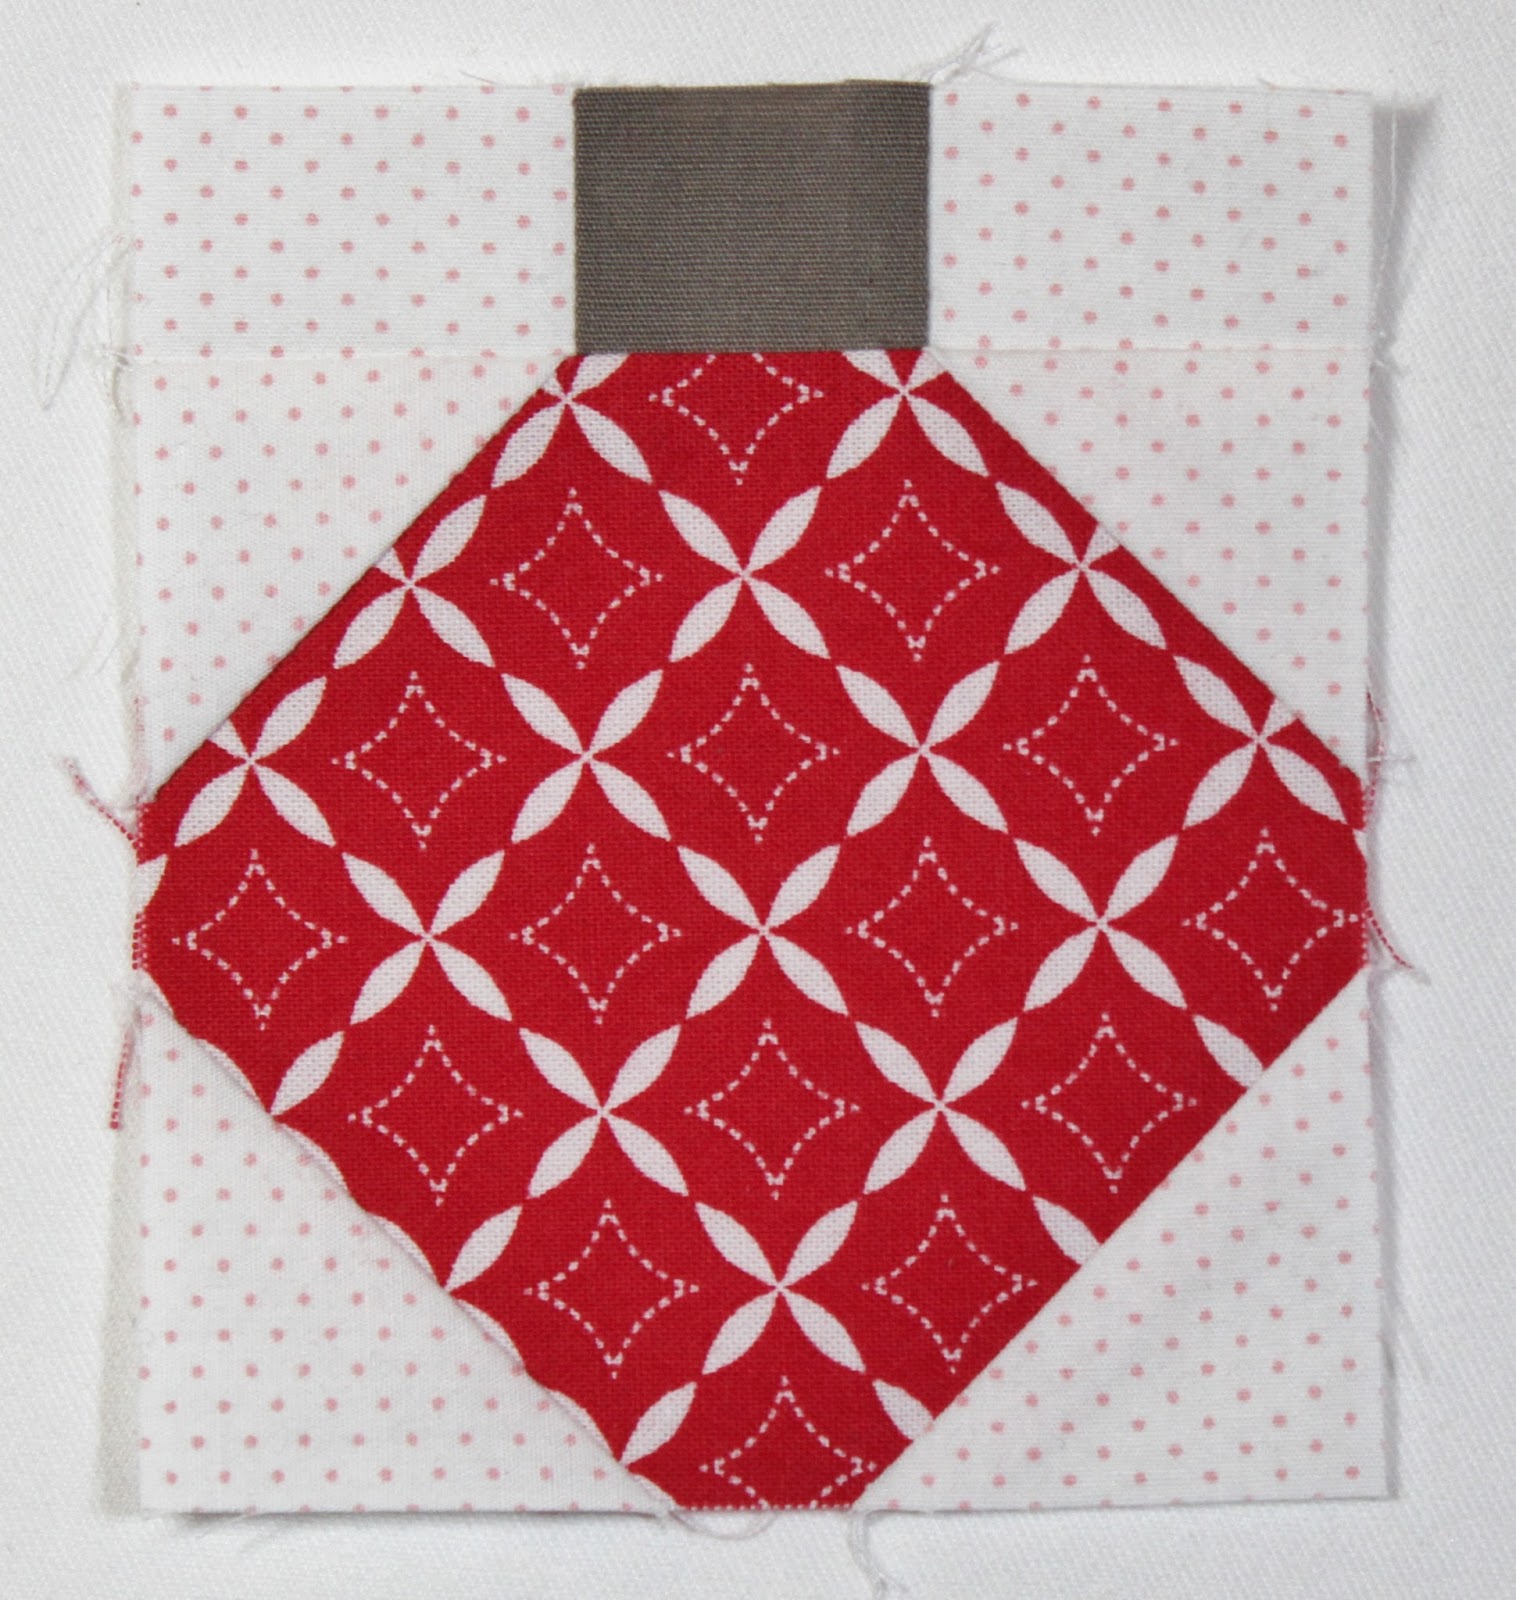
2. Repeat to make 7 ornament blocks measuring 3½” x 4″ unfinished.
And that’s it for today!
If you love the look of these sweet little ornaments as much as I do, you might want to give my Christmas Baubles quilt a try.

Christmas Baubles is an 18″ x 24″ quilt made with a mini charm pack and a bit of yardage. You can find the free tutorial for this fun quilt here at the Moda Bake Shop!
In the meantime, I’ll see you back here Monday for Day 3. Have a great weekend!!
Comments on this entry are closed.
Oh, this is a sweet quilt. I've missed this one on Moda Bakeshop's blog!
Must remember for next year, lol! Thanks for the second step! I just have some time to sew, yay!
Hugs Martina
This quilt is gorgeous and love your sew along, just found it through Martina´s blog.Thanks for the tutorials!!
Thank you, Martina and Rosa! I'm so glad you found me!! Jen
Very cute 🙂 Thank you.
Love these! Thank you….