
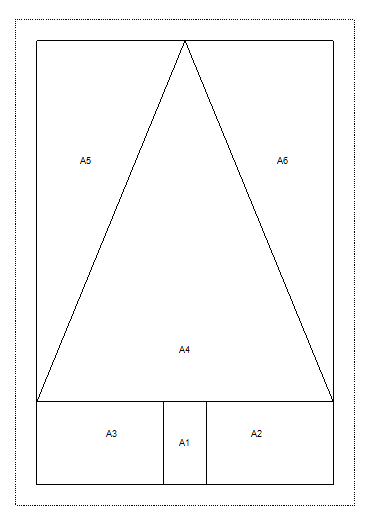
You can make these adorable trees with templates if you like (click here for the templates pdf), but my favorite way to make trees is to paper piece them. It’s fast and easy and you end up with nice, sharp points.
For your Christmas Tree blocks, you’ll need:
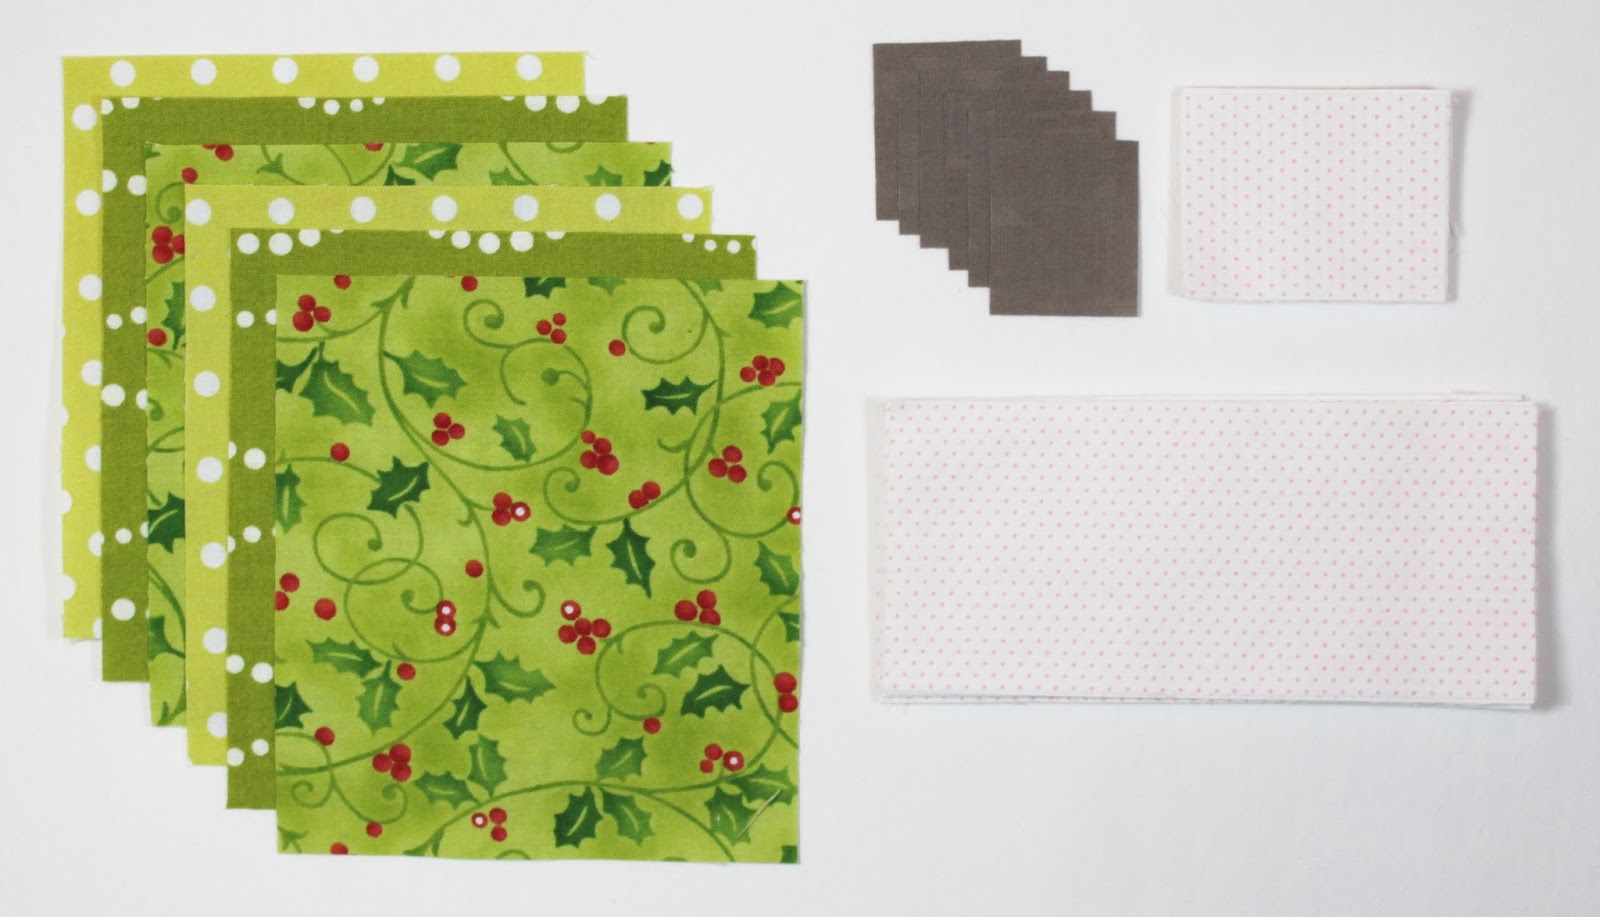
6—assorted print 4½” x 5″ rectangles (I chose to make all 6 of my trees green, but feel free to choose whatever colors you like for your trees. If you followed my FQ cutting chart, you’ve should have two 4½” x 5″ rectangles available to use from each of your FQs.)
12—background fabric 1¾” x 2¼” rectangles
12—background fabric 2½” x 5½” rectangles
6—gray print 1¼” x 1½” rectangles ( I thought gray tree trunks worked better for my color palette, but if you’d like to substitute brown for yours, please do so! FYI, this is the last time we’ll be using the gray in our piecing.)
- When positioning fabric shapes for sewing, it helps to hold the foundation pattern and fabric shapes up to a light source (window, light box, lamp) to check your positioning.
- Shorten your stitch when paper piecing to 18-20 stitches per inch. This helps you to more readily remove the paper from the back of your work when you’re finished.
- Foundation papers specifically designed for paper piecing are great to work with and much easier to remove from your finished work. If you don’t have access to foundation paper and decide to use regular copy paper, just be very careful when removing it from the back of your work to make sure you don’t pull out your stitches.
- Start sewing a couple of stitches before each sewing line and stop a couple of stitches beyond each sewing line.


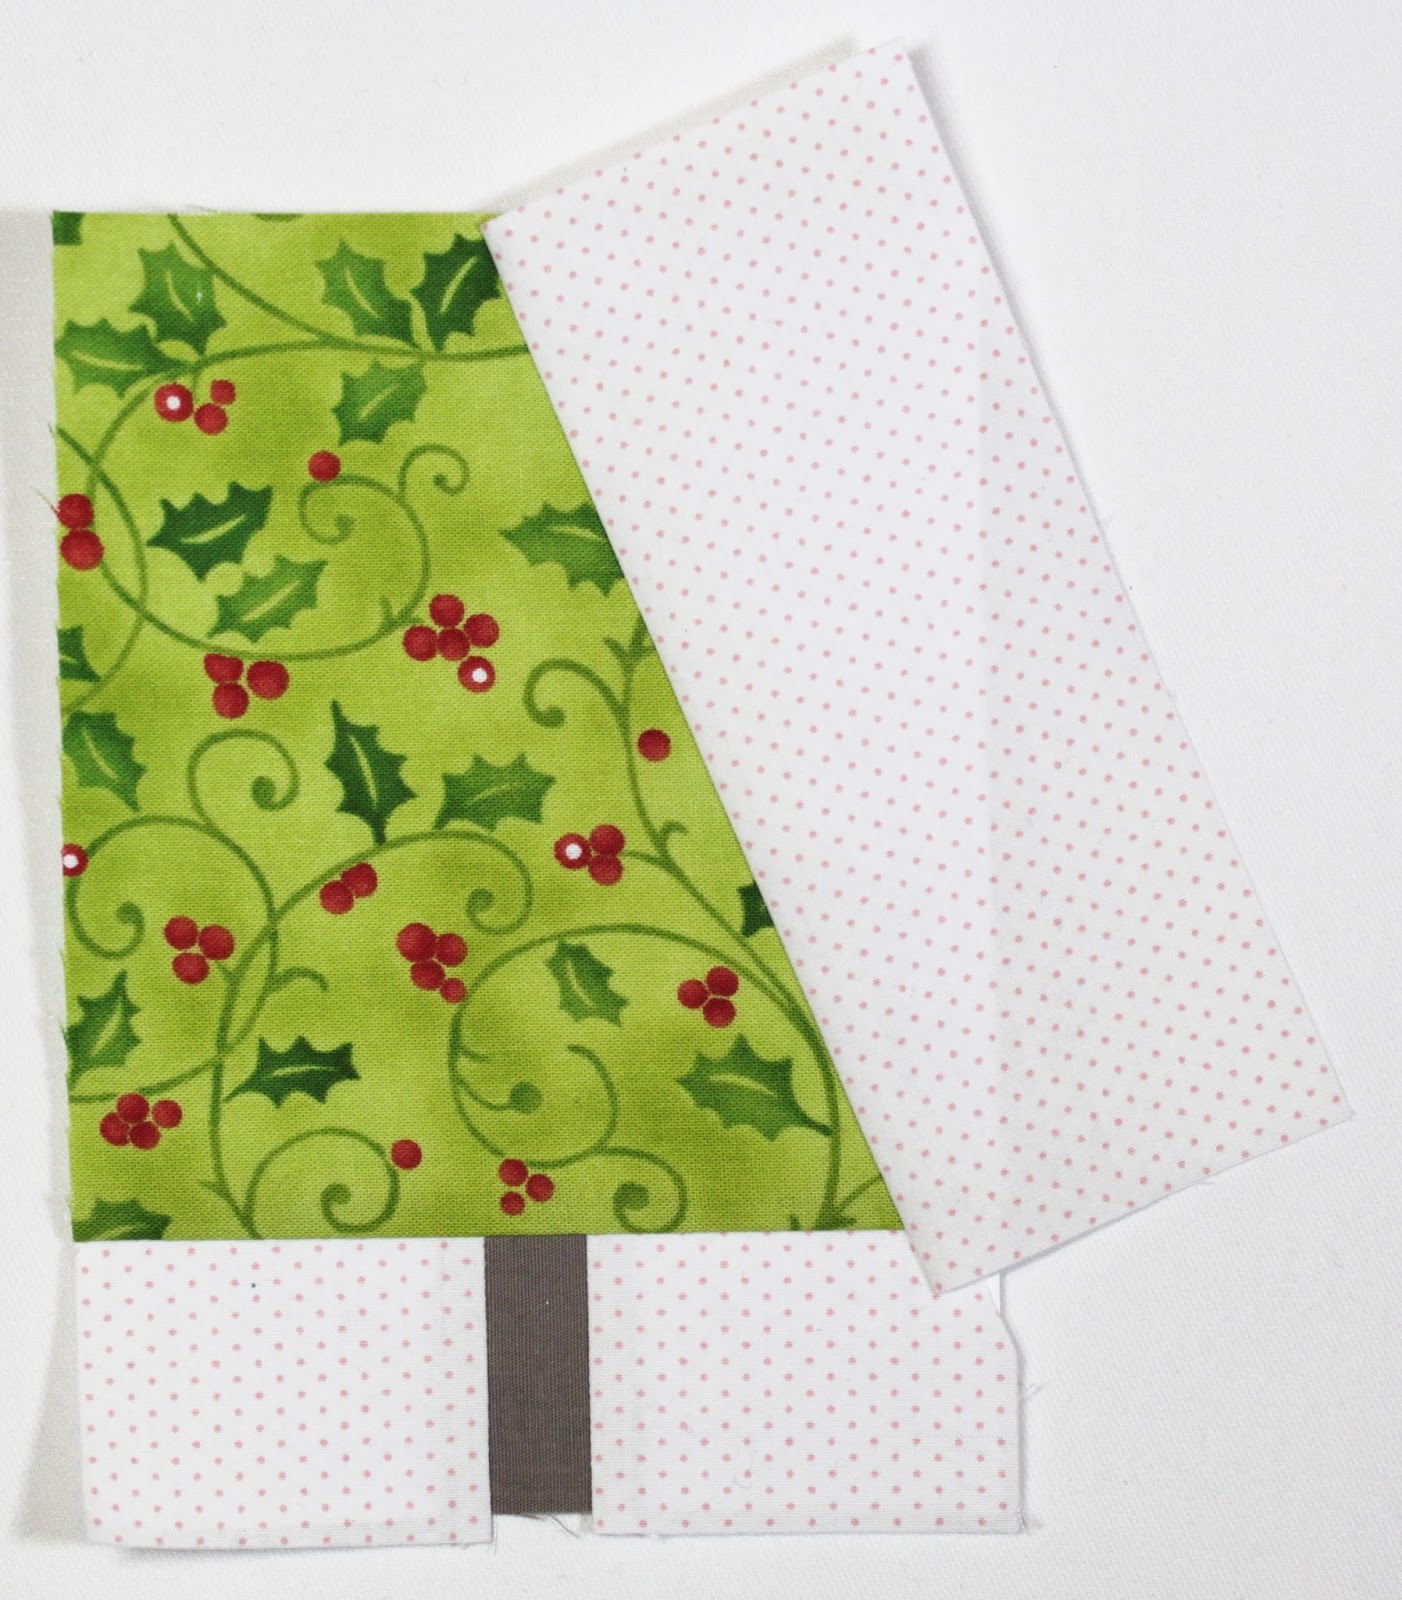
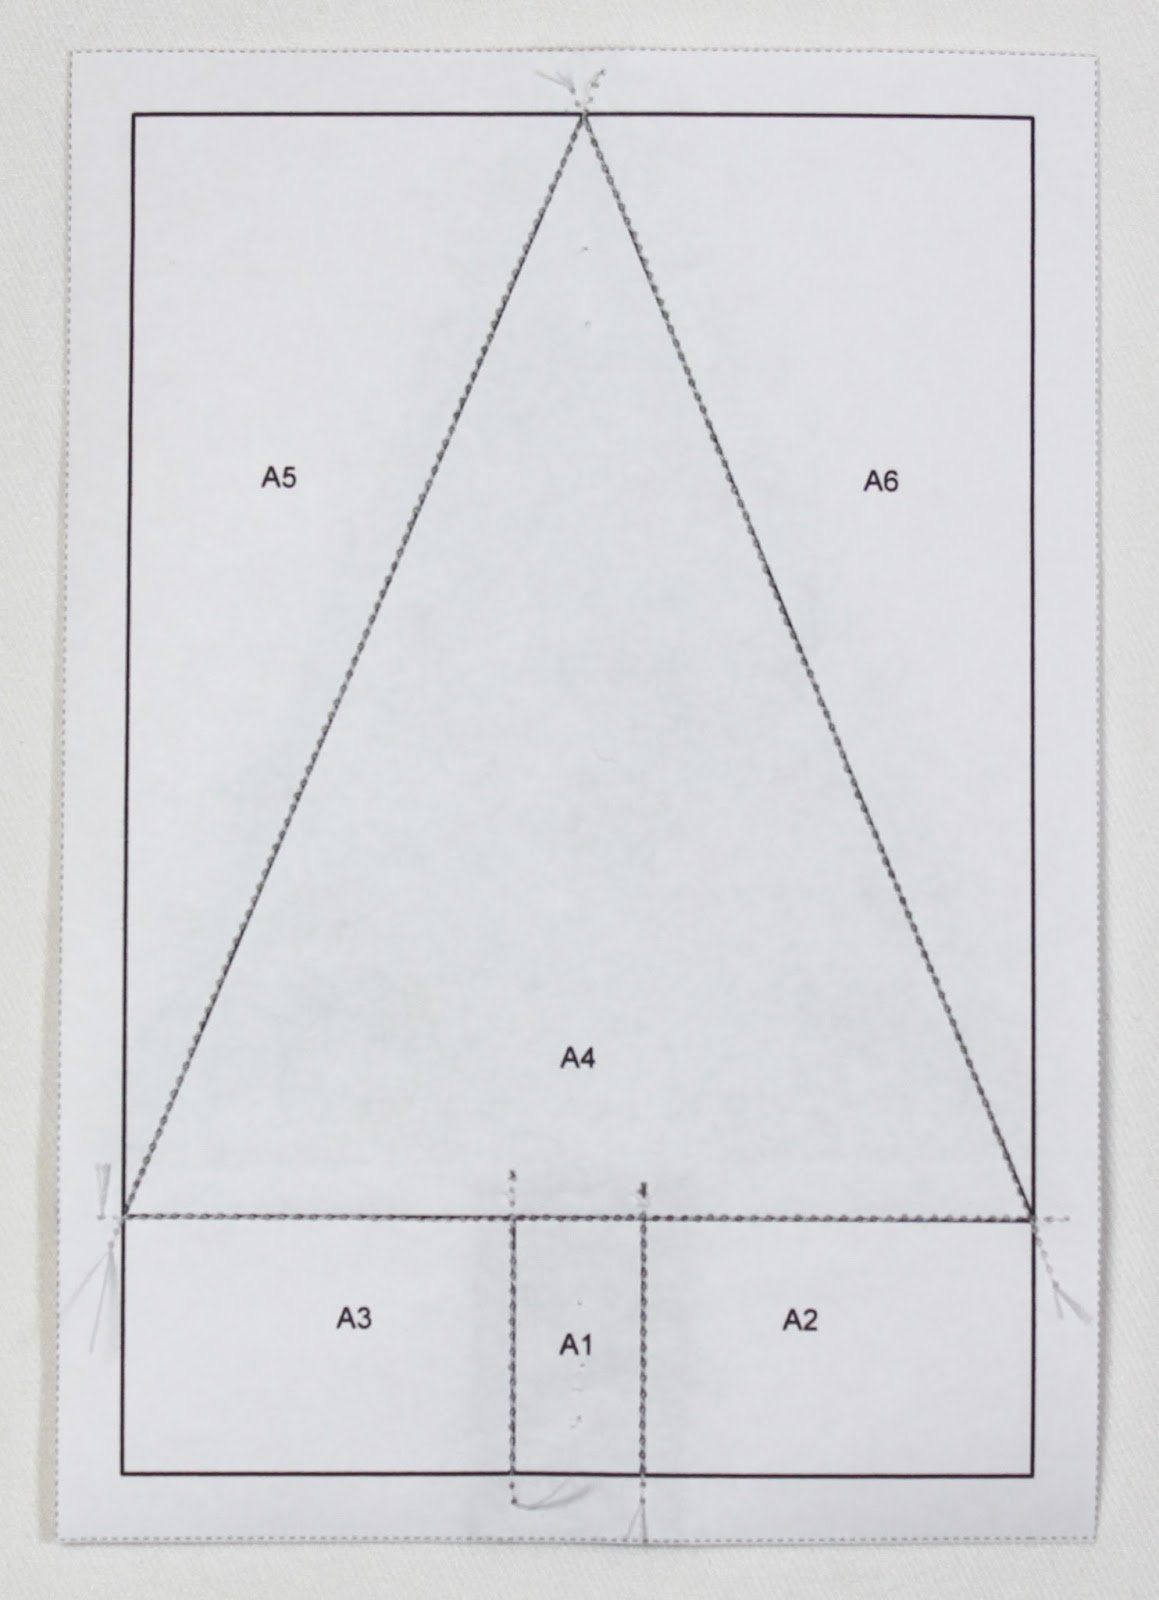
5. Open fabric and press. Before moving on to the next area, make sure that the background fabric covers area A2 completely, including an extra ¼” on all sides.
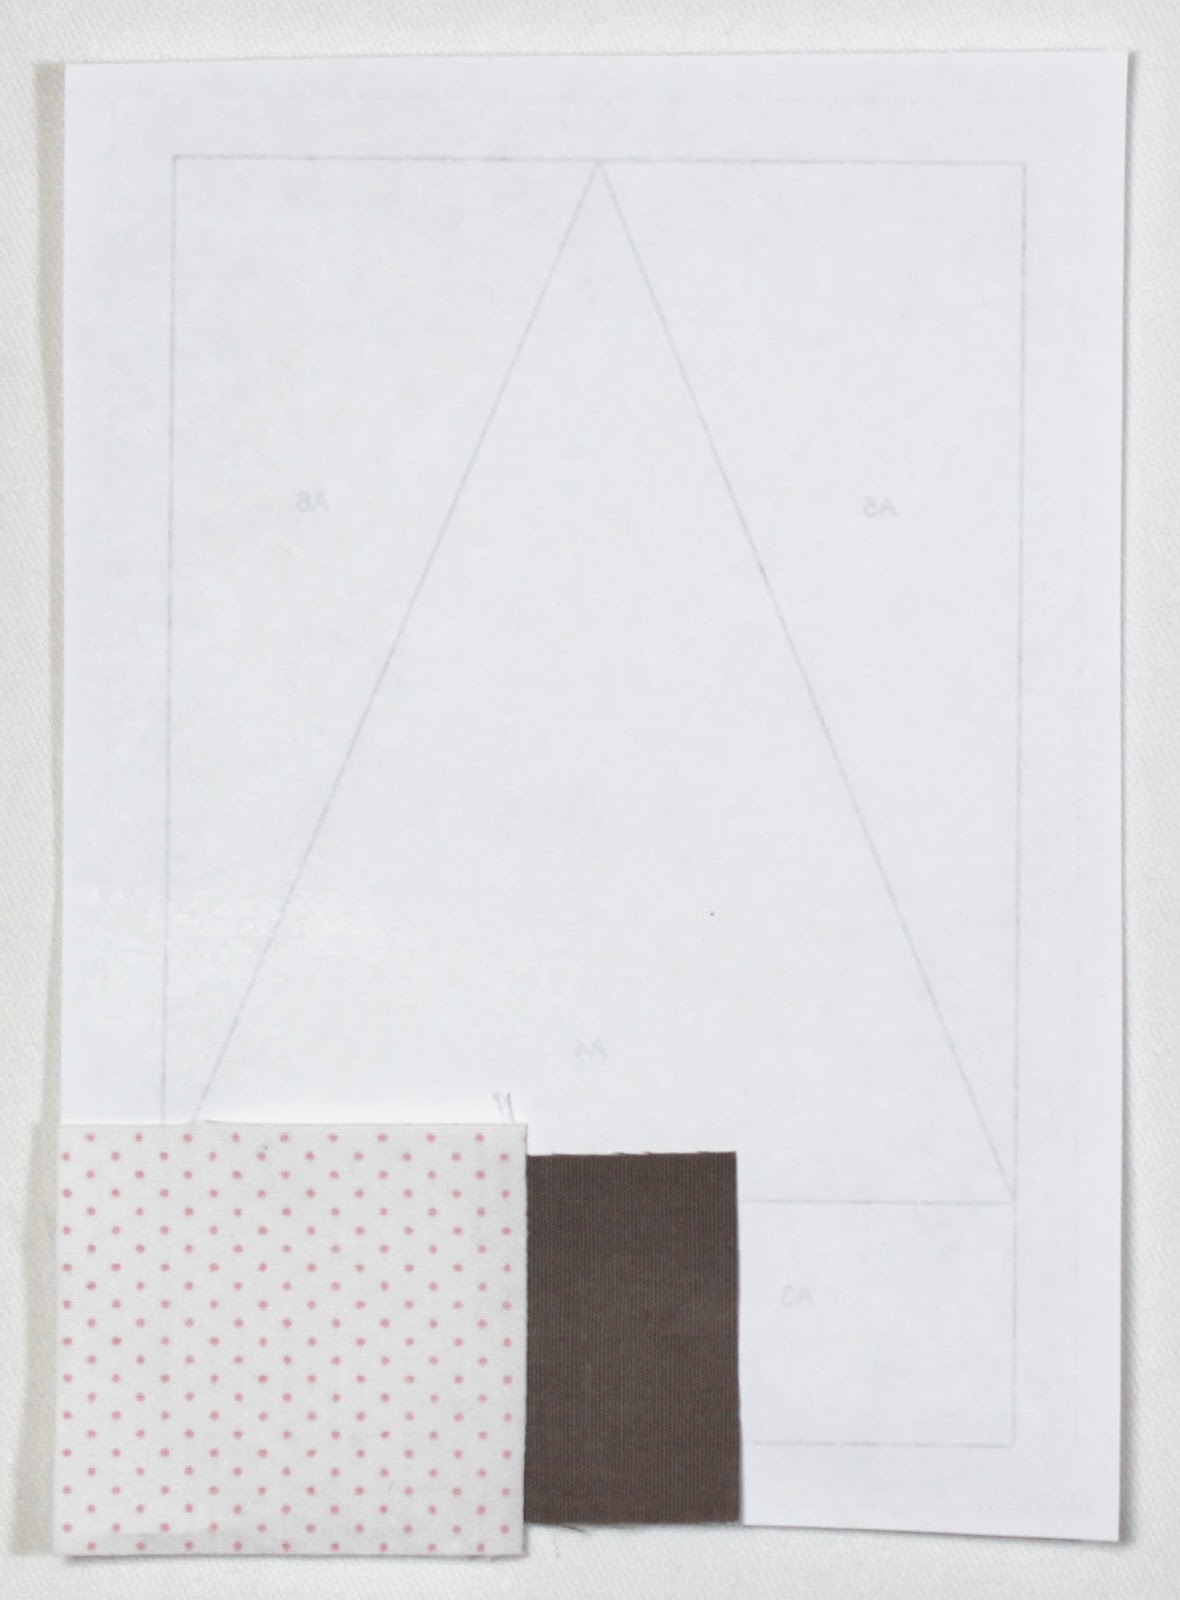
6. Continue in same manner, covering area A3 with a second background fabric 1¾” x 2¼” rectangle.


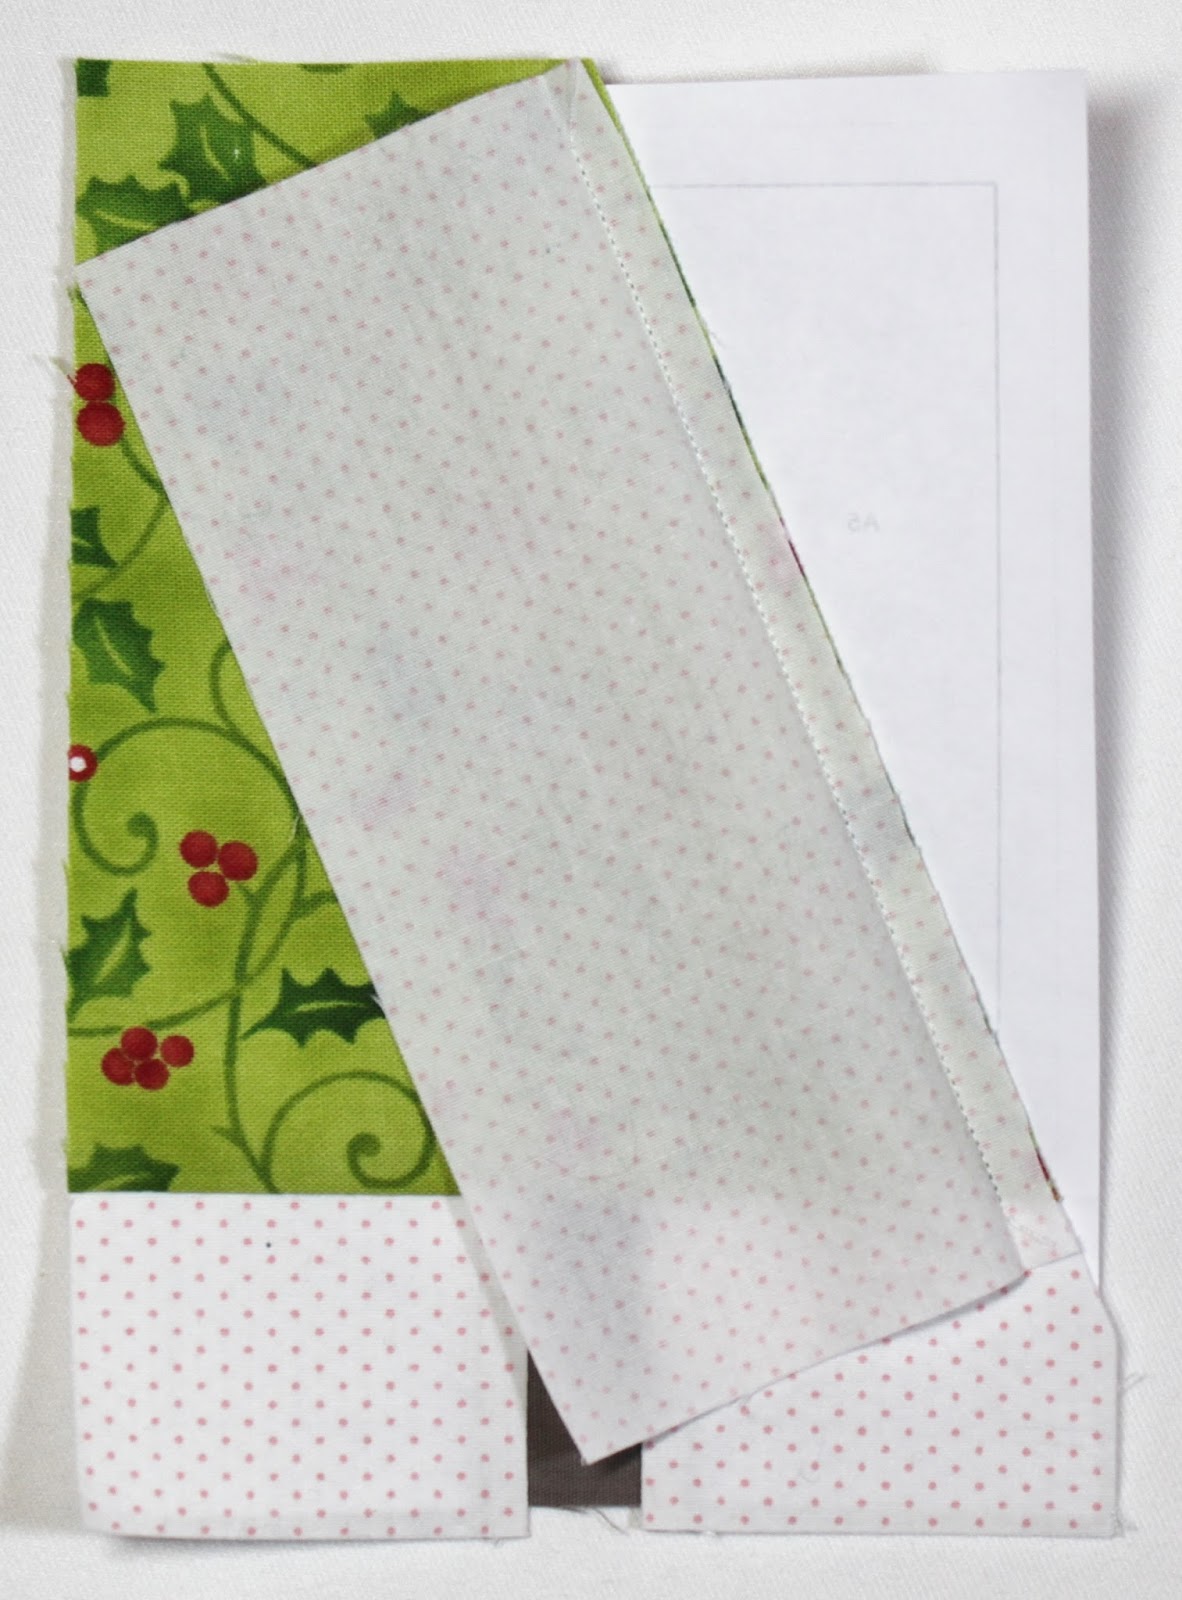
7. Cover area A4 with a print 4½” x 5″ rectangle.


10. Flip work over and trim carefully through all layers along outermost line. You can carefully remove the paper from behind the Christmas Tree block now or later, it’s up to you. I chose to remove the paper because it prevents the block from adhering to my design wall when I’m laying out the quilt. But if you prefer, you can remove the paper later after we assemble our quilts.


Well done! Feeling merry yet?! I definitely am!! See you Wednesday for Day 4!
Comments on this entry are closed.
HI,so neat! I'm saving this one! Thanks for sharing!
msstitcher1214@gmail.com
My pleasure, Linda!!
Thank you for another lovely pattern. I love my trees 🙂
That's great, KMTrott! I'm so happy you love your trees!
I am sooo loving your fabrics! Thank you for the patterns.
I love the fabrics too, Jackie!! They're different for me, but so much fun!
Let the foul language begin.. i know how to paper piece, but hate it.. if i had known there was 3 rows paper pieced i might not have started it.. but i love the finished product.. so those with delicate ears.. cover them now through the trees (done), the houses & the presents… I'll let you all know when to take the ear plugs out.