I can’t believe it’s already December 13th!! I’m wildly behind on my Christmas preparations, but I’m happy anyway because I’m having so much fun with this Quilt-along!
It’s Day 7 and today we’re going to finish piecing our quilt tops!!

We’re adding an inner border and pieced outer borders today, and I really love how they finish off the quilt! Very merry!
For your borders, you’ll need to gather:
- 58—assorted print 2½” x 2½” squares (if you pre-cut your FQs, you should have at least 10—2½” x 2½” squares from each of your 6 assorted prints left over)
And from the 9″ x 30″ background fabric strip that you cut and reserved on Day 1, further cut:
- 2 borders 2″ x 27½”
- 2 borders 2″ x 24½
Finish quilt center:
1. First, stitch 1—2″ x 27½ background fabric border to the left and right sides of your quilt center. Press seam allowances towards the background fabric border. Then stitch 1—2″ x 24½ background fabric border to the top and bottom of your quilt center, again pressing seam allowances towards the background fabric borders.
2. Next lay out 2 pieced borders of 15—assorted print 2½” x 2½” squares each (for the sides of your quilt) and 2 pieced borders of 14—assorted print 2½” x 2½” squares each (for the top and bottom of your quilt) as shown:

You can lay out your assorted print squares randomly or in an organized pattern—totally up to you. I planned to start with a red square in the upper left hand corner of my quilt and to work clockwise around the quilt, repeating the same order of prints. When I tried this out, I ended up with red print squares in both the upper and lower left hand corners and green print squares in both the upper and lower right hand corners. I didn’t want that, so I pulled out some graph paper, assigned each print a number and rehearsed different layouts. The following is what I decided on:

3. Once you arrive at a layout that you’re pleased with, stitch your 4 border strips, pressing seam allowances all in one direction.

4. Stitch 1 longer pieced border (15 squares) to either side of the quilt, pressing seam allowances toward the inner background fabric border. And finally, stitch 1 shorter pieced border (14 squares) to the top and bottom of the quilt, again pressing seams towards the inner background fabric border.
 |
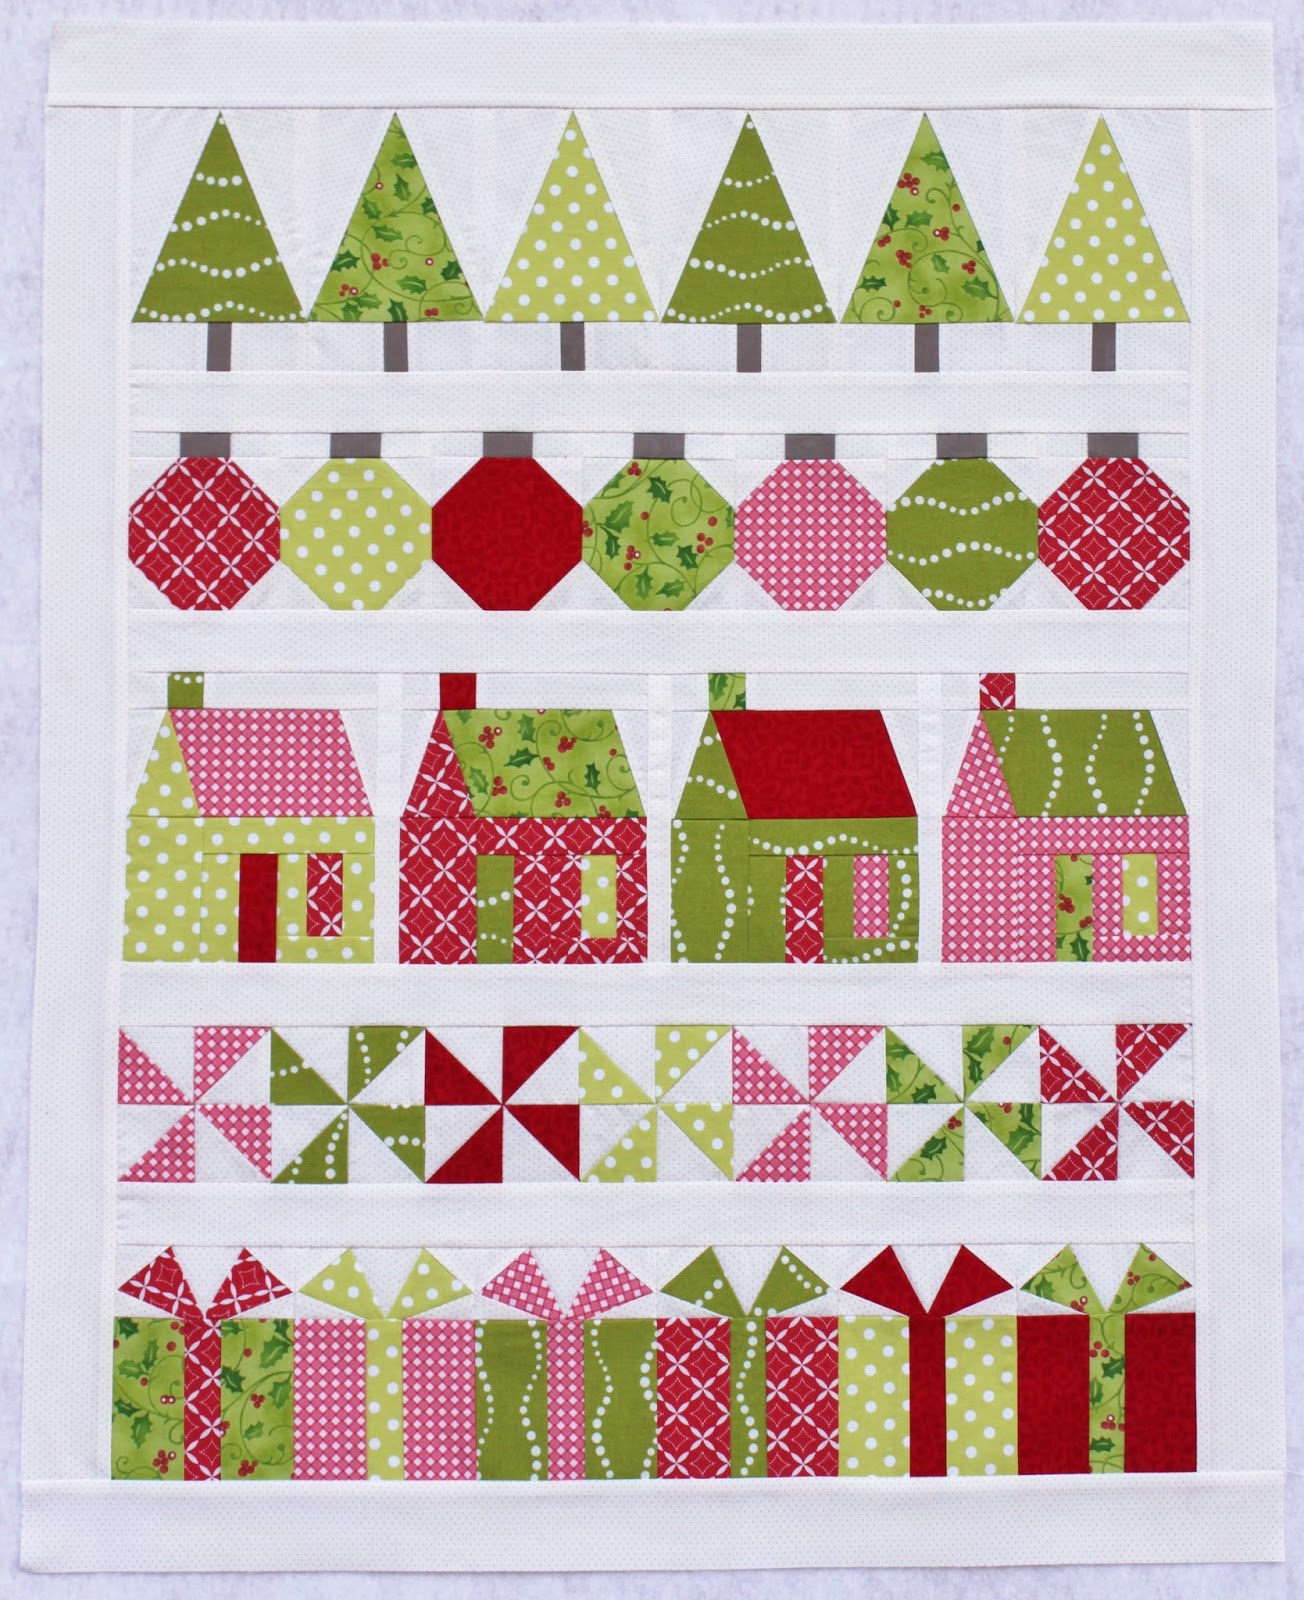
| Finally, the remodled red house block makes it back into the photos!! |
And voilà!! Your quilt top is complete!! Well done you!!
BUT, the quilt-along is not over yet! Be sure to check back in on Thursday for Day 8 of the Merry and Bright Quilt-along. We’ll be changing things up a bit and moving on to embroidery! Can’t wait!!
Comments on this entry are closed.
This quilt is looking so darn cute! Thank you for this wonderful quilt-along!
What a beautiful Cristmas quilt with modern fabrics.
Thanks for sharing Jen.
Liebe Grüße
Bente
Danke, Bente!
Thank you, Jackie, for all of your nice comments!!