Welcome back for Day 8! Today we begin embroidery!!
Simple embroidery is one of my favorite ways to embellish my quilt, and when I was designing this quilt-along project, I realized that the background fabric sashing strips and inner borders were the perfect canvases for a bit of stitching.
Today we’ll be embroidering the sashing strip between the Christmas tree blocks and the ornament blocks with a large star stitch.
Here’s a peek:

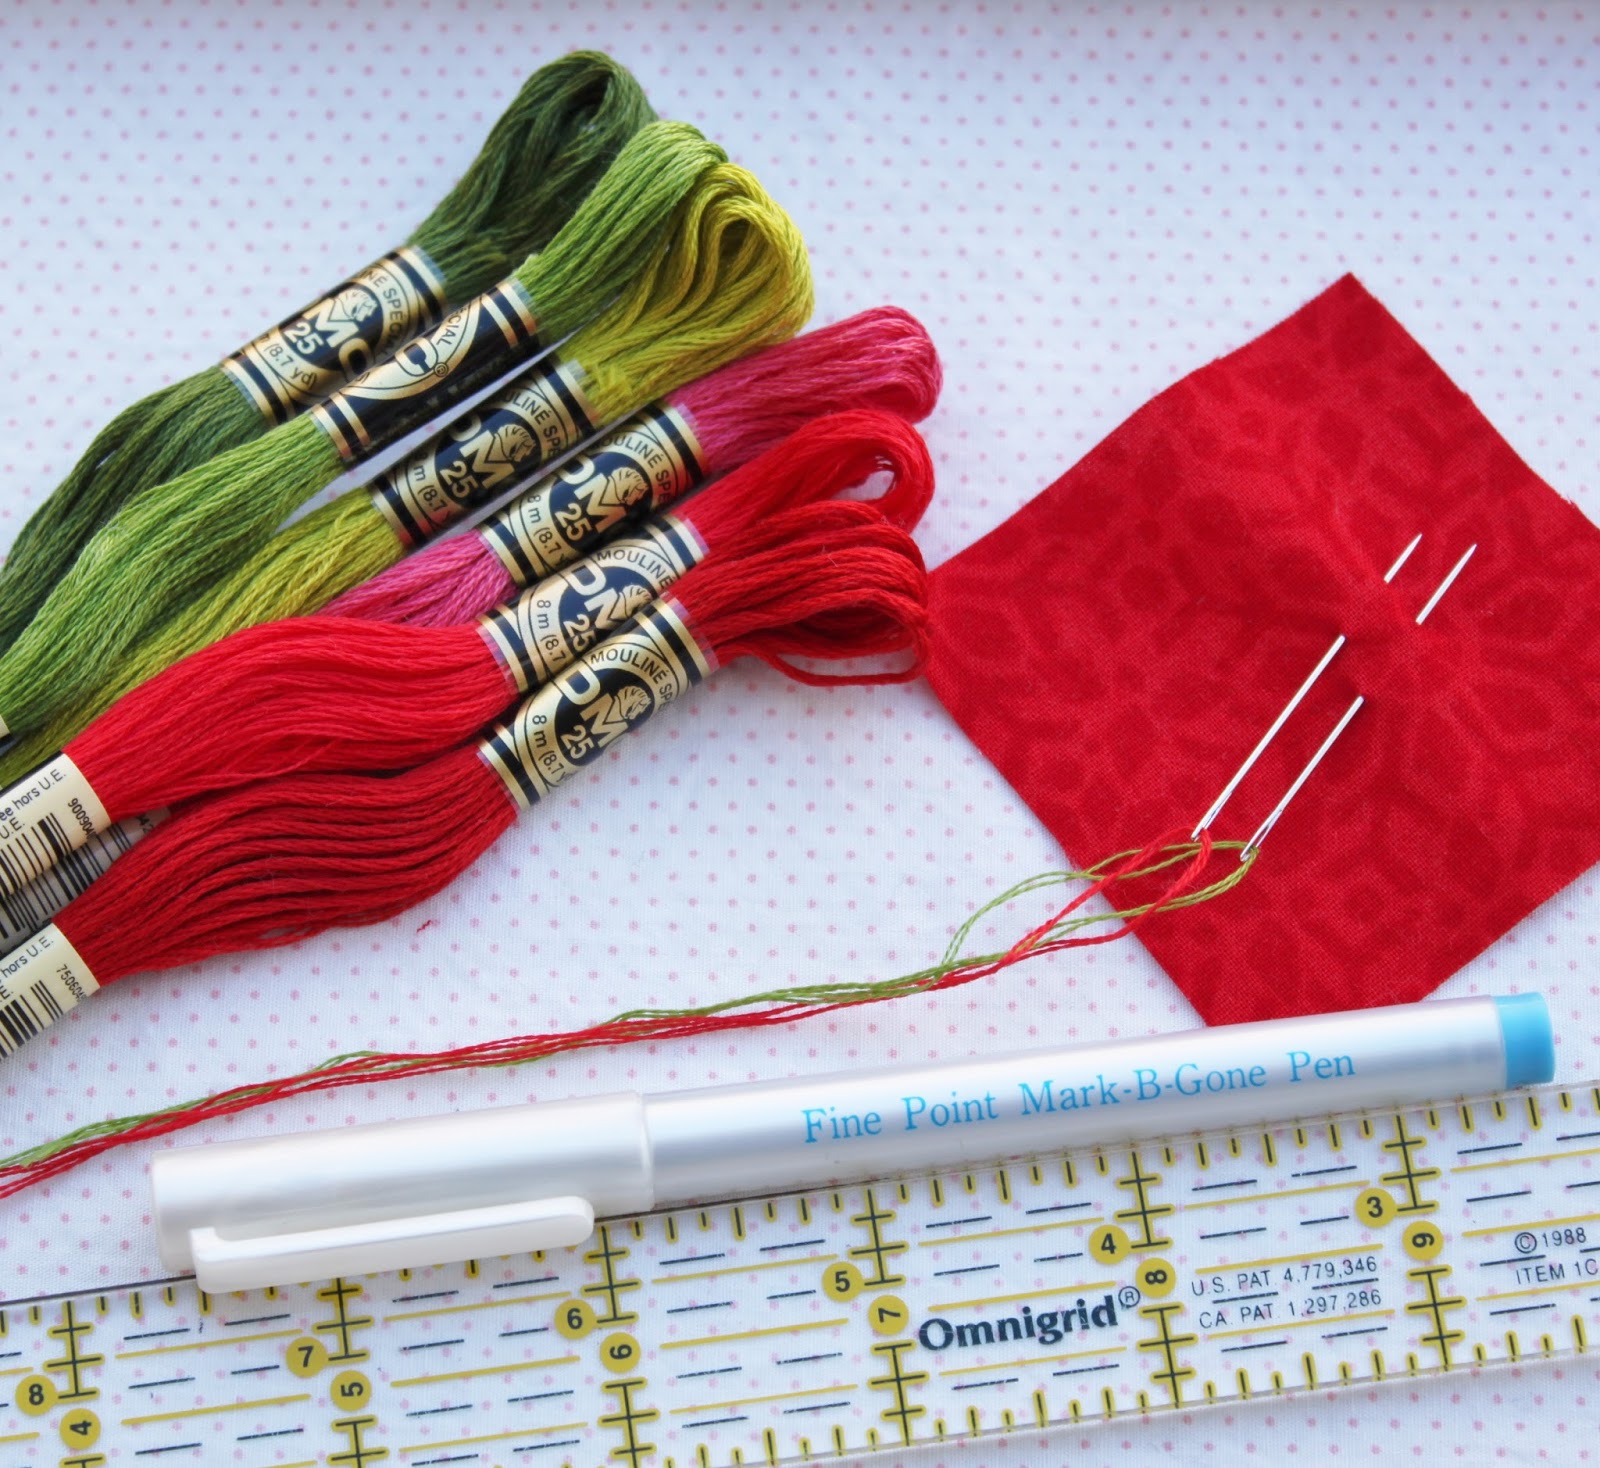
Before we get started, you’ll need to gather:
- 34″ x 40″ piece of batting
- spray basting adhesive (optional)
- washout marking pen
- quilting rulers
- embroidery floss to match your assorted prints
- embroidery needles
- washout marking pen
- embroidery hoop
Layering/Basting Quilt Top and Batting:
First you’ll need to layer your quilt top with a 34″ x 40″ piece of batting. This step is optional, but I like to do my embroidery through both the quilt top and batting for two reasons. First, it gives my stitching a bit of dimension, and second, the batting prevents the embroidery floss on the back of your work from showing through on the front, especially with a light colored background fabric like we’re using on this project. I don’t layer the backing fabric with the top and batting before embroidering because the back of the embroidery wouldn’t look very good exposed on the back of the quilt.
To baste my quilt top and batting, I used spray basting adhesive between the layers. It’s fast and easy and really keeps your work still during embroidery. To spray baste my layers, I smoothed the batting out on a flat surface, and used masking tape around the edges to hold it taut (but not stretched) and still. Following the directions on the can, I lightly sprayed the surface of the batting with the spray basting adhesive, placed the quilt top on top of it, and smoothed it out starting from the center and working my way towards the edges. For added insurance, you can safety pin through both layers around the outside edge of your quilt top.
Marking Sashing Strip for Embroidery:
Once you’ve basted your quilt top and batting ONLY using your preferred method, it’s time to mark your quilt. We’ll be marking as we go over the next few days. Note: before marking your quilt, take a moment to test that you’ll be able to remove the marks from your background fabric. Just take a small scrap of your fabric, draw on it with your pen and attempt to wash it out with the method that you plan to use. If the marks don’t show once your scrap of background fabric has dried, you’re good to go! By the way, to remove my marked lines, I like to lightly mist the marked lines with a spray bottle, then blot the quilt with a clean tea towel to remove the excess water and let the quilt dry flat.
To mark your sashing strip:
- Starting at one edge, make a small mark on the top edge of the sashing strip at every inch along its length. Your sashing strip should measure 1¼” x 21″, so you should end up with 20 little marks.
- At each inch mark, draw a ¾” long vertical line beginning and ending ¼” away from the upper and lower seams of the sashing strip.
- Draw a ¾” long horizontal line perpendicular to the line drawn in step 2 and intersecting its center.
- Draw an “x” at the intersection of the lines drawn in steps 2 and 3. The two lines of the “x” should measure ½”.
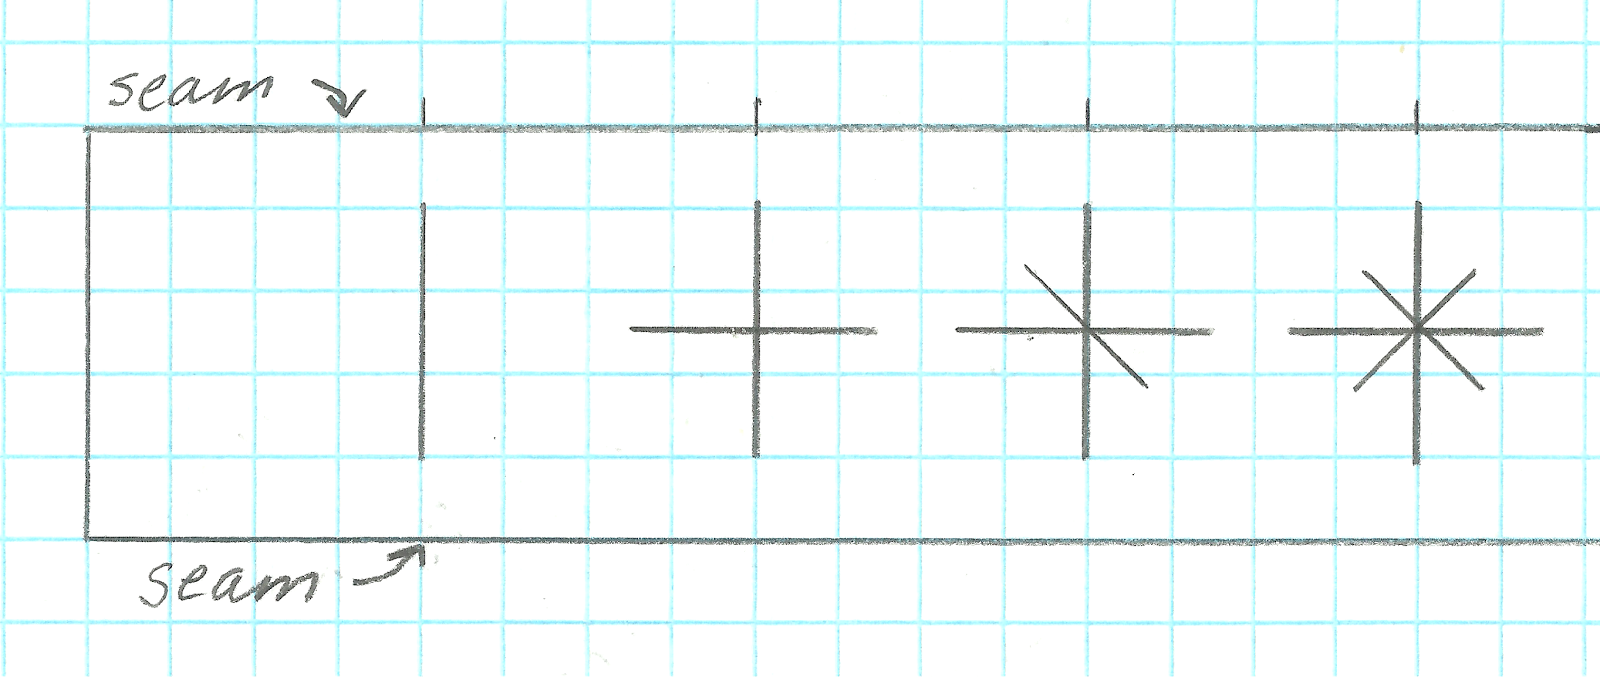

Flip your rulers, realigning your 45° line with a vertical seam line on your quilt and mark a second ½” line.

- Place your marked quilt top/batting sandwich in an embroidery hoop.
- Thread an embroidery needle with two strands of embroidery floss.
- Referring to the diagram below, start at the top and bring your needle up at point A and down through the center at point B.
- Bring your needle up at point C and down again through the center at point B.
- Continue in the same manner, stitching in a clockwise directions until you’ve created a star.
- Secure your floss in the back of your work and move on to the next star. Note: I used 4 different colors of embroidery floss for my stars, alternating red and green.


Comments on this entry are closed.
Oh yes, soo pretty!!! Embroidery is my favourite part, yay!
The embroidery adds that little extra touch to an already beautiful quilt! What fun!
I'm glad you like it, Martina!! Have fun stitching!
Thank you so much, Jackie!