Wow, it’s Day 3 already—welcome!!

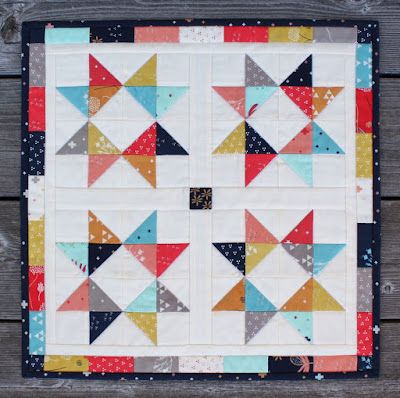
You may have surmised from the above picture that we’re making half-square-triangle units again! These will be smaller HST units and we’ll be making quite a few of them. We won’t be making the star pictured above for this project, but I’m definitely filing the idea away for another time—I love the red and green polka dots together!
Today you’ll need to gather:
5 red print #2 4″ x 4″ squares
5 green print #2 4″ x 4″ squares
10 white 4″ x 4″ squares

To make your half-square-triangle units:
Today we’ll be using the same “Magic 8” method that we used on Day 2, but just in case, I’ll lay it out for you here again today.
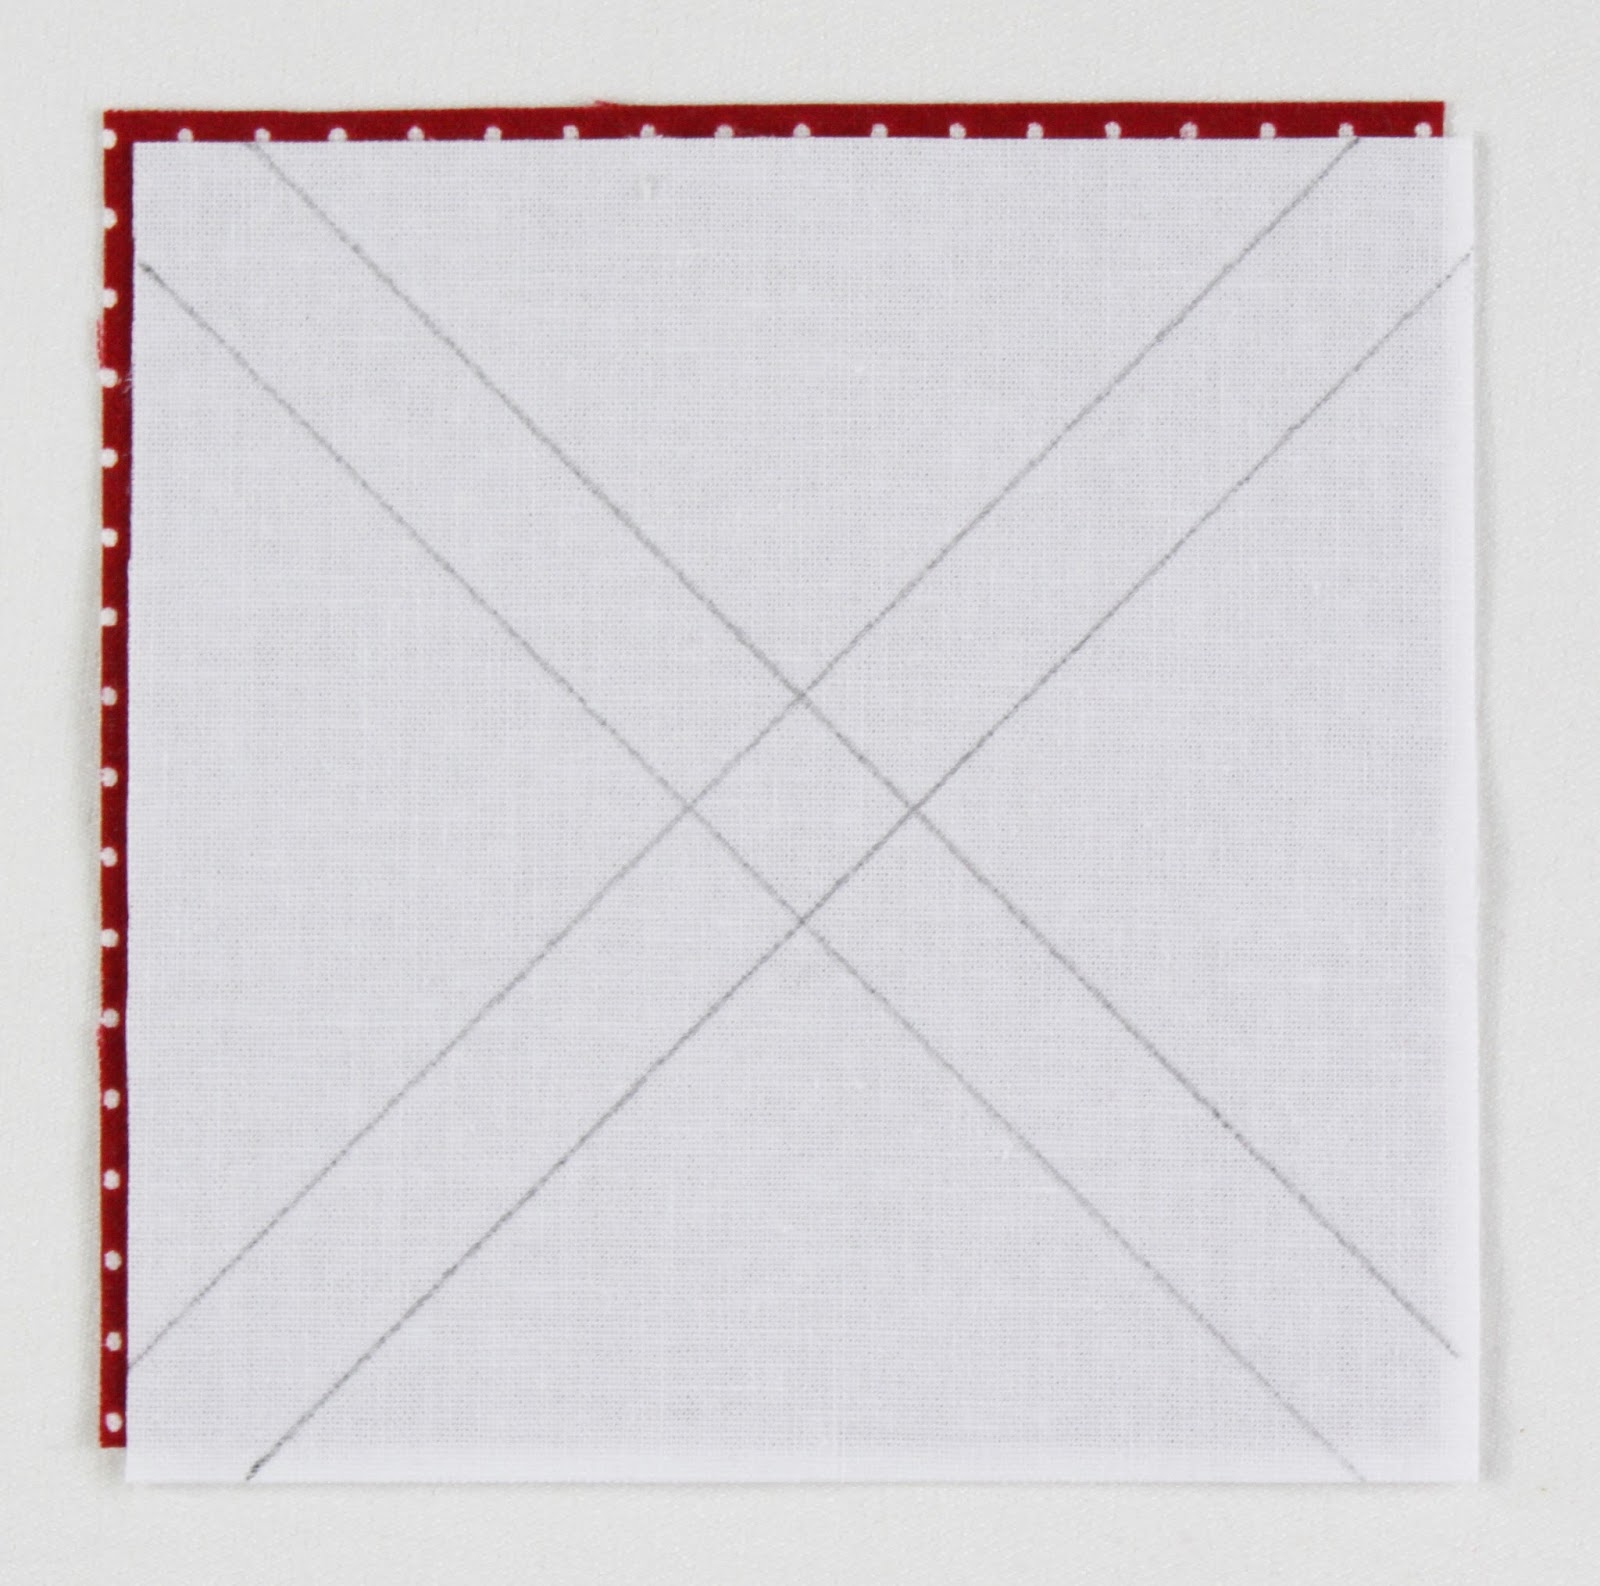
1. On the wrong side of a white 4″ x 4″ square, use a pencil to lightly draw 2 diagonal lines a scant ¼” from each true diagonal of the square as follows. If it helps, go ahead and draw the true diagonal lines first.

2. Layer a marked white 4″ square atop a red/green print 4″ square with right sides together.
3. Stitch the pair together exactly on the drawn lines. Press to set seams.

4. Use a rotary cutter to cut the unit in half vertically and horizontally and in between the seams to make 8 half-square-triangle units.

5. Press the seam allowances toward the red/green print.
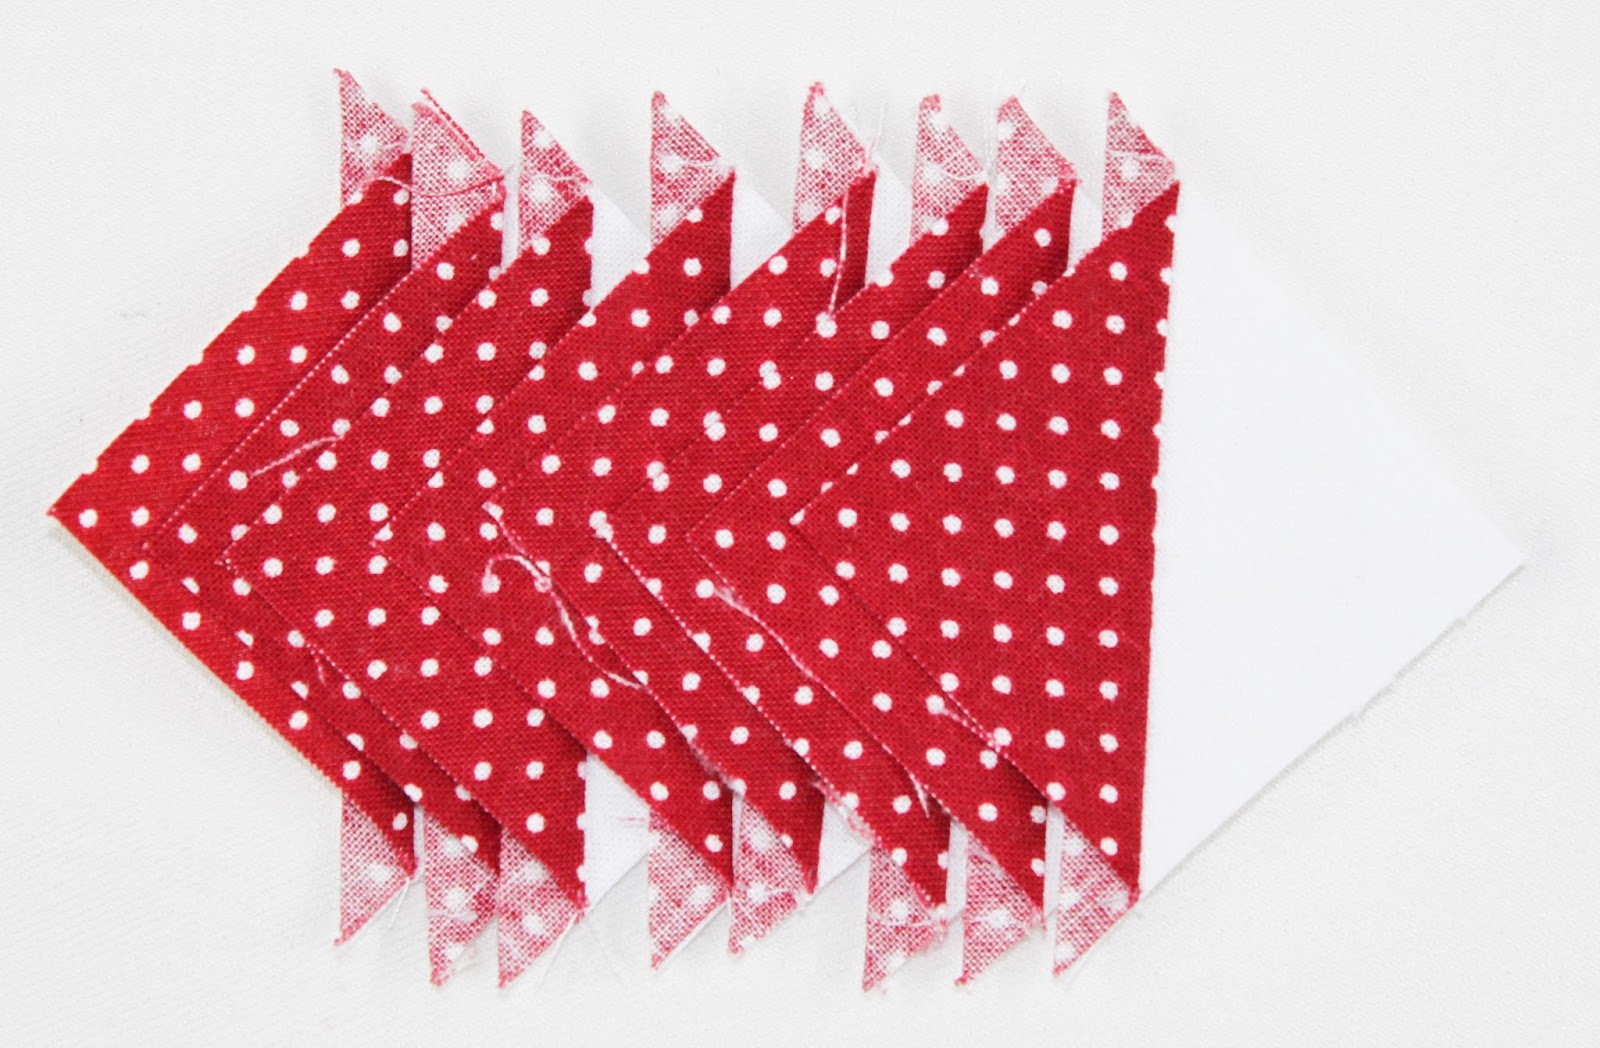
6. Trim the HST units to measure 1½” x 1½” unfinished. Don’t forget to use the ruler trick to keep your HST units true as you trim them to size.


7. Repeat with remaining red or green print and white 4″ squares to make 40 red print #2 half-square-triangle units and 40 green print #2 half-square-triangle units measuring 1½” x 1½” unfinished.

Whew, I know that’s a lot of trimming! That’s why we split it up over two days. I think that’s also the first time I’ve ever typed the word “whew!”
And that wraps up Day 3! We’ll be moving on to something else on Day 4 and don’t despair that we aren’t assembling blocks yet, I promise it’ll come together in the end! So much fun!!
By the way, if you’re enjoying making HSTs, (and who wouldn’t?!) you might want to give my Candy Stars project a try. Here’s a picture of the original Moda Bakeshop tutorial:
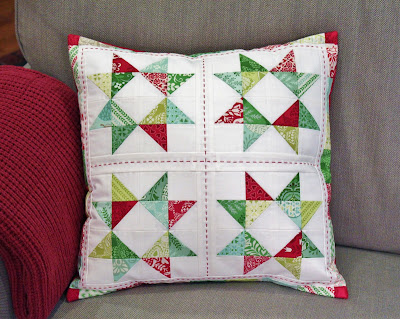
…and a picture of a Christmas version featuring Kate Spain’s “North Woods” fabric that I finished as a 16″ x 16″ pillow:
Happy quilting and I’ll see you back here Friday!
Comments on this entry are closed.
Thank you! I like the star block too!
Maybe we'll use it next year, Jackie!
Thank you again for this Christmas Quilt Along. I am all caught up an ready for the next step. While I wait i am going to start last year's one. My husband asked why the blocks are so small. I told him that I didn't know, it is a Christmas mystery.
I forgot to ask. Can we post pictures?
Great that you're all caught up, Laurie! And you can tell your husband that all will be revealed by Christmas…
I'm positing pictures on Facebook and Instagram using the #sweetshoppeqal. If you share yours, please tag me @jendalyquilts so I can see what you're up to!
Hi Jen,
I'm not able to sew along right now, but I'm saving the posts so I can sew it up later!
I can't find your email for day 3. Would you be able to email it to me at eahorgan@gmail.com?
Thanks so much!
Hi Liz – If you've signed up for email notifications, the emails are just the same as the post for that day. Here's the link for Day 3: http://jendalyquilts.blogspot.com/2017/12/sweet-shoppe-quilt-along-day-3.html. If you'd prefer, the complete pattern for the project will also be available on my Etsy shop, JenDalyQuilts, after the quilt along is over. Have fun!